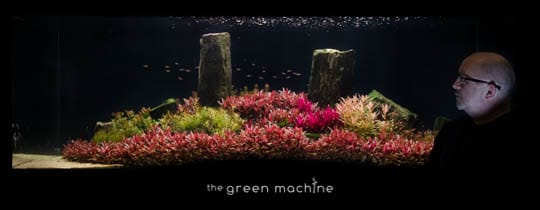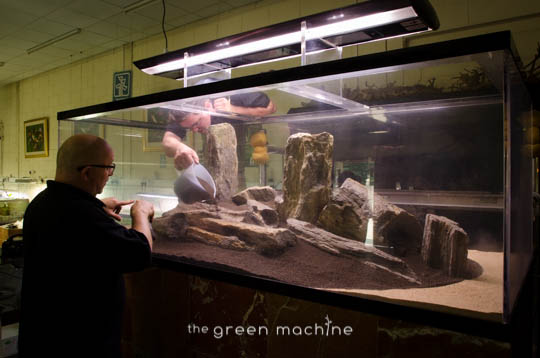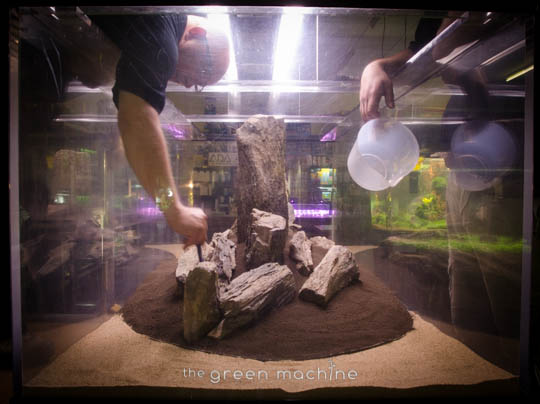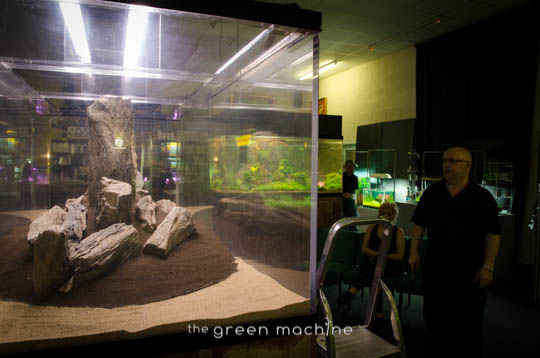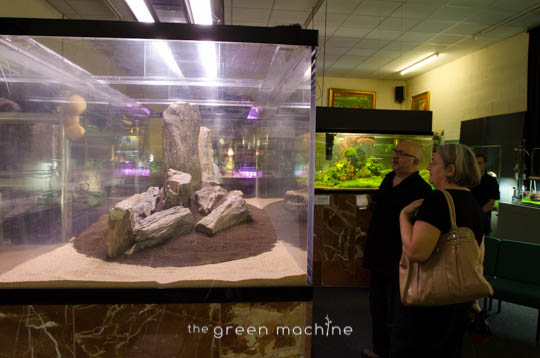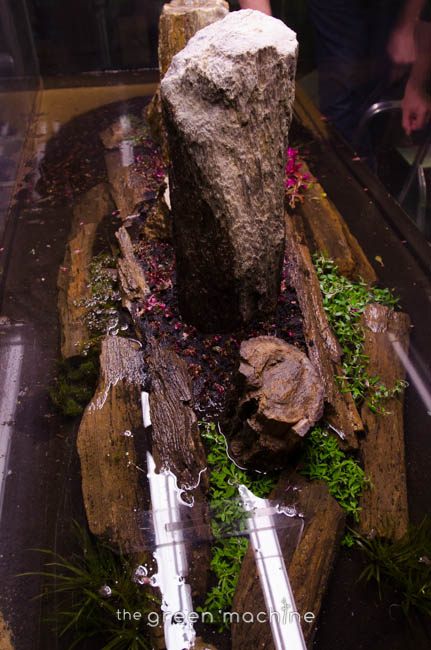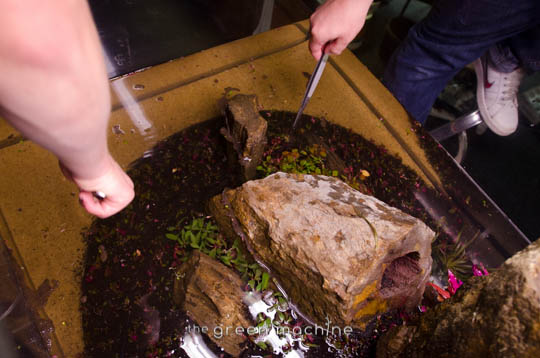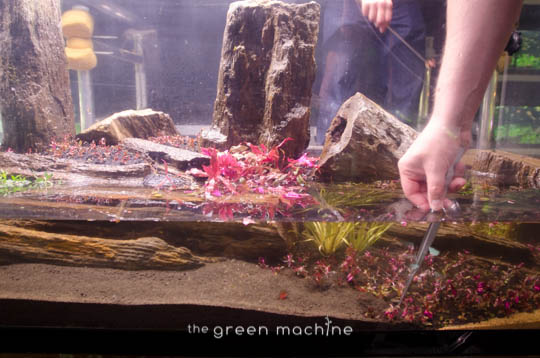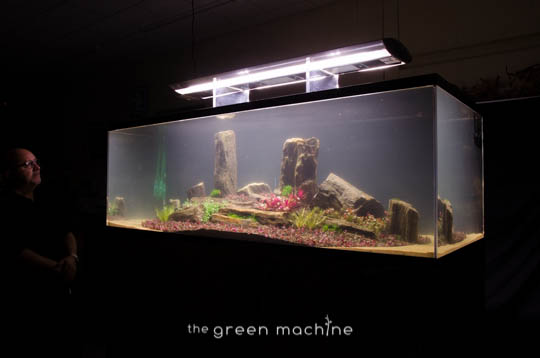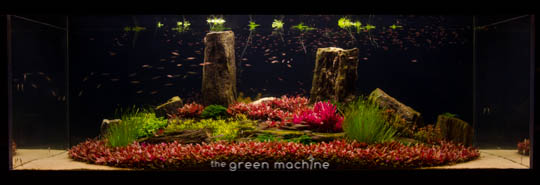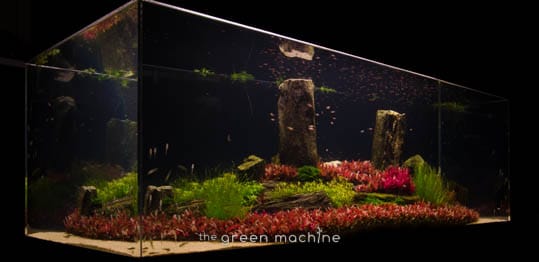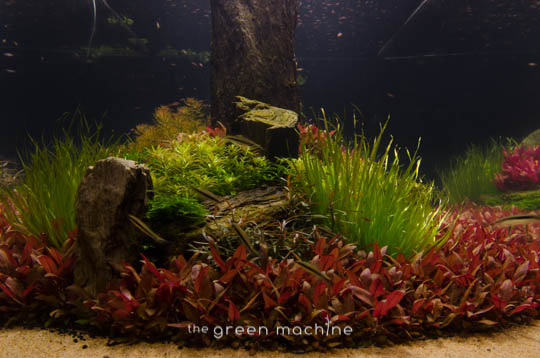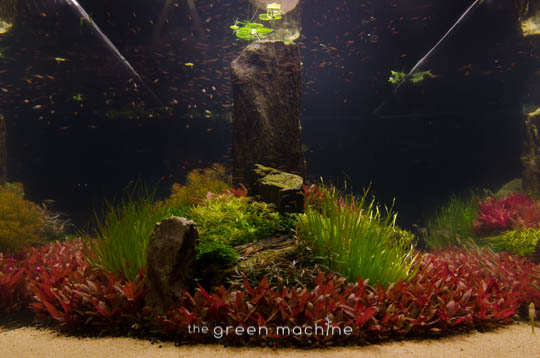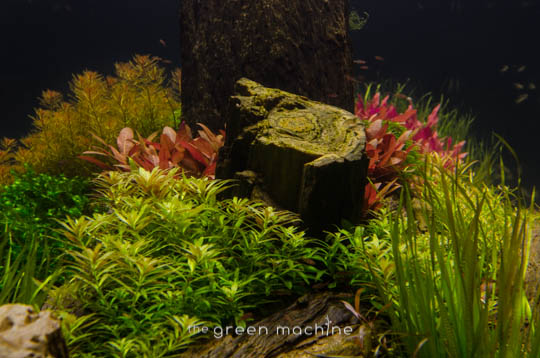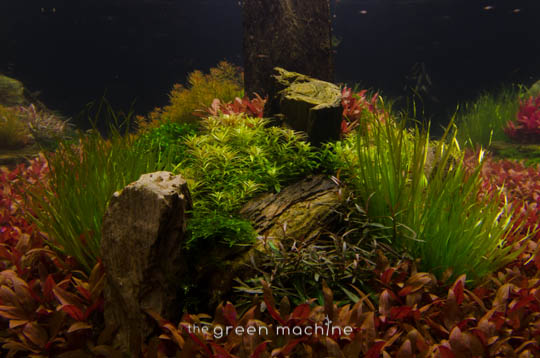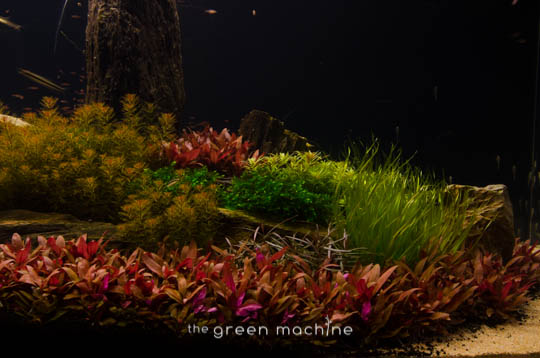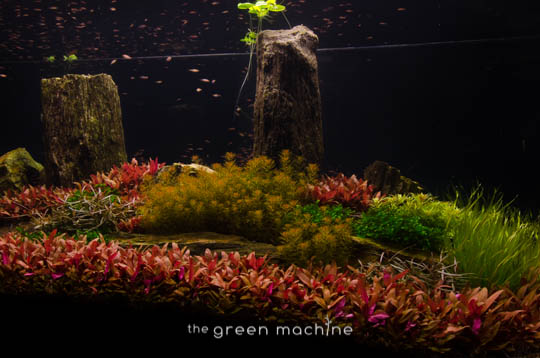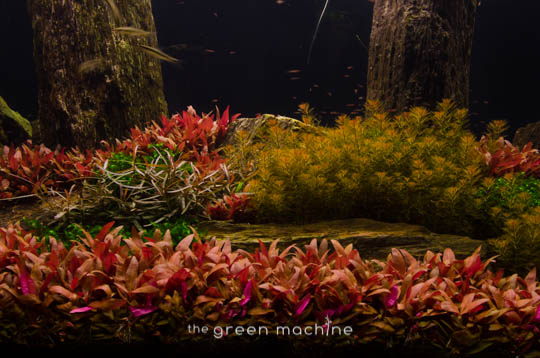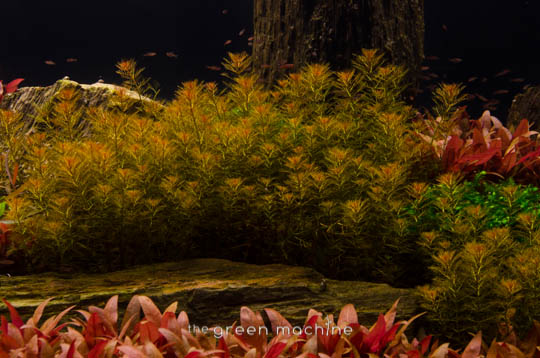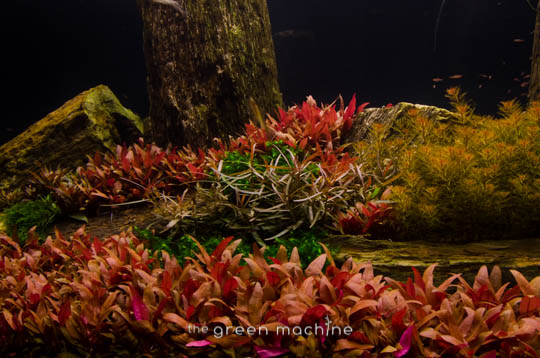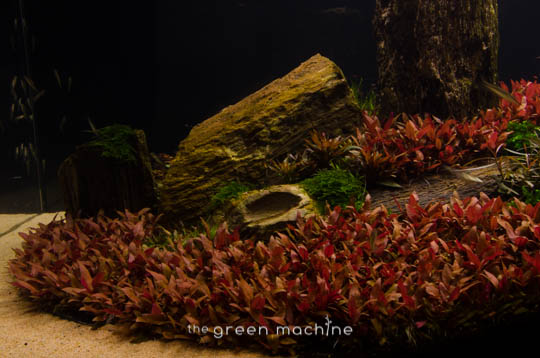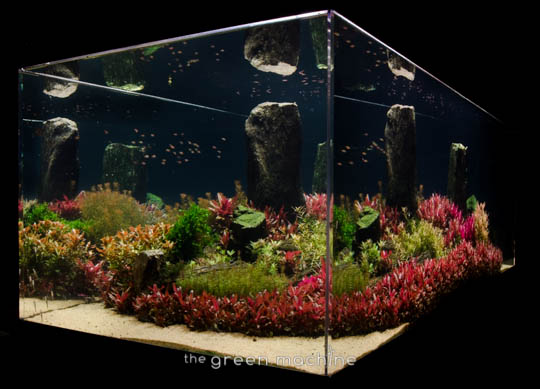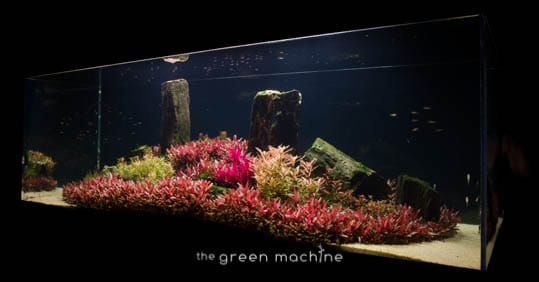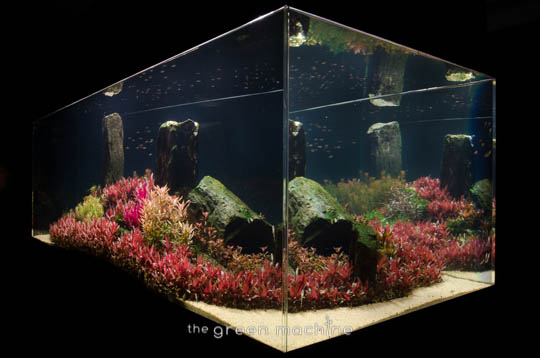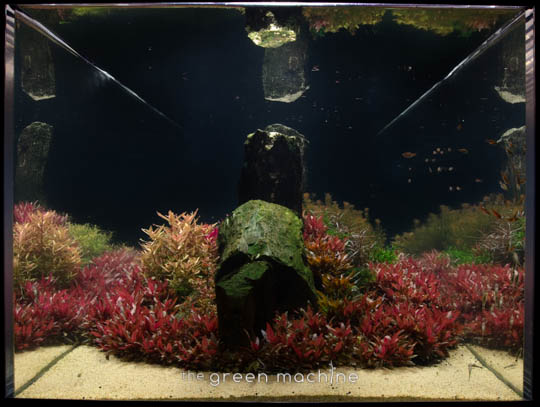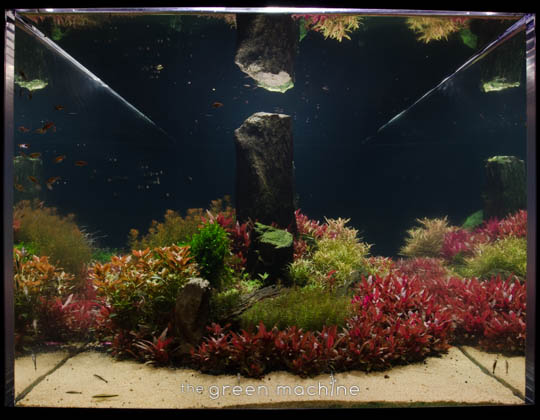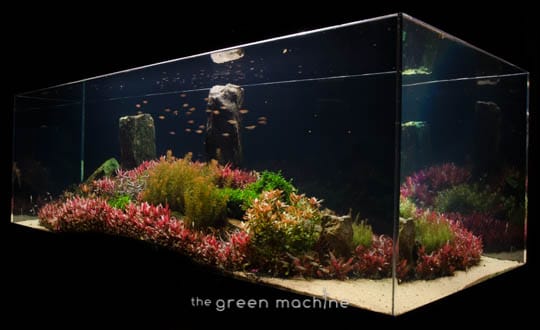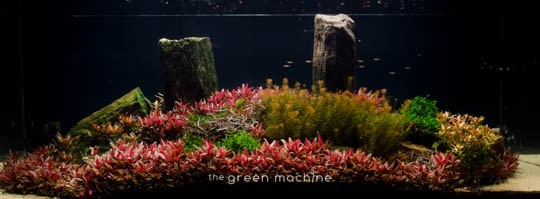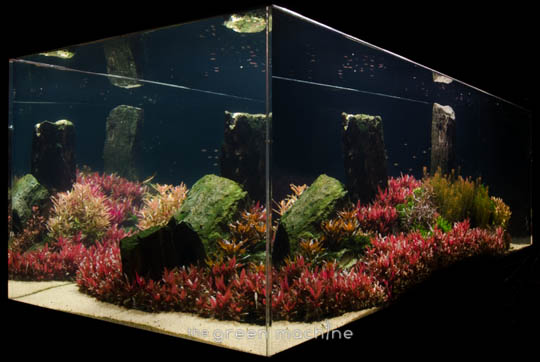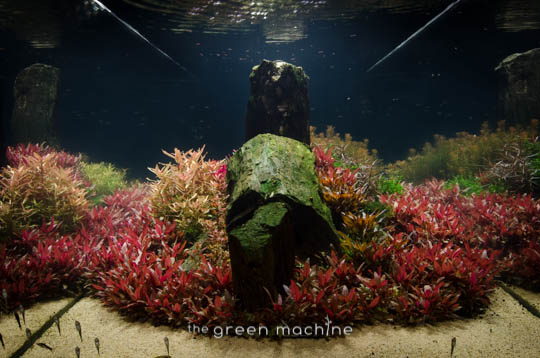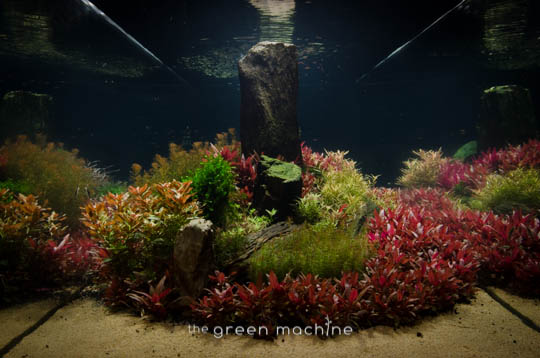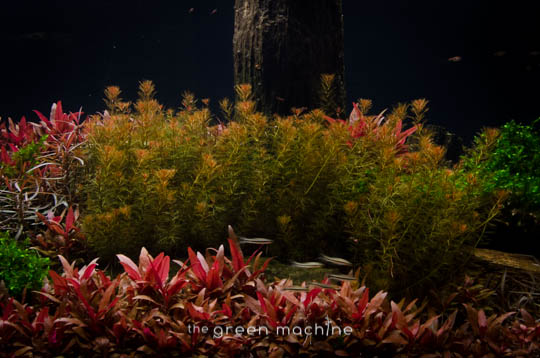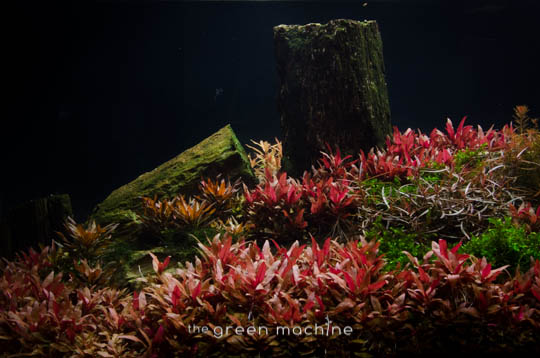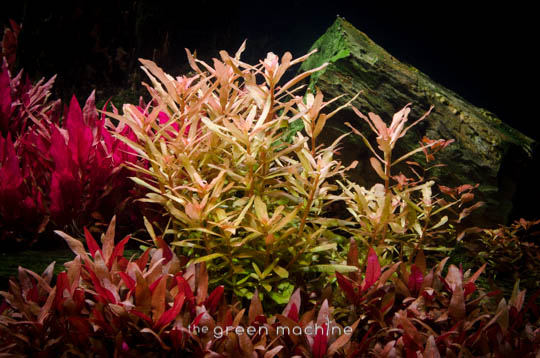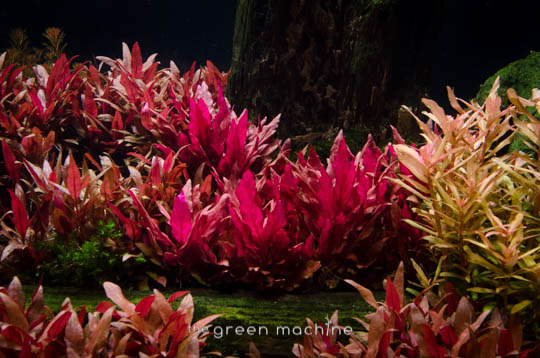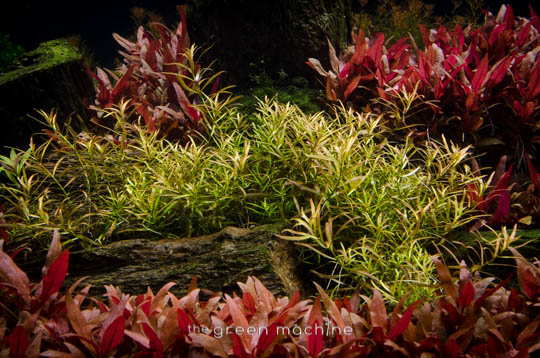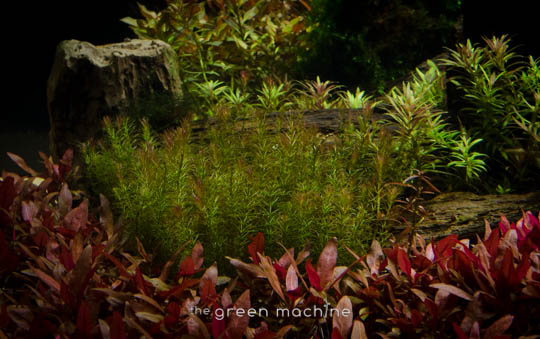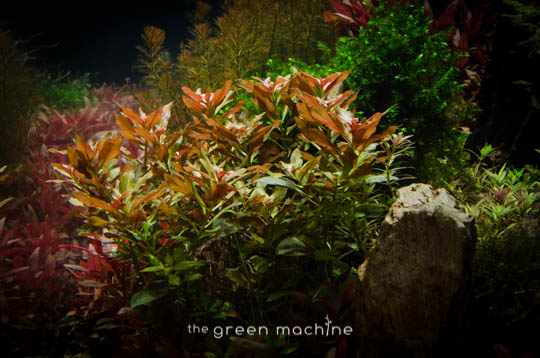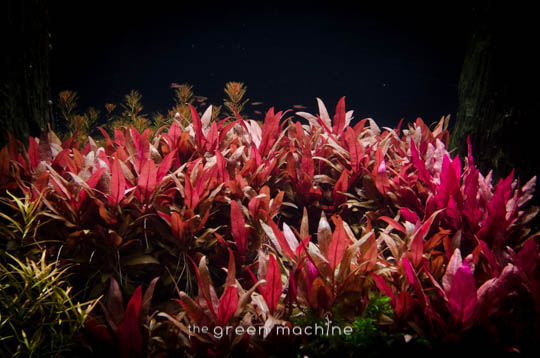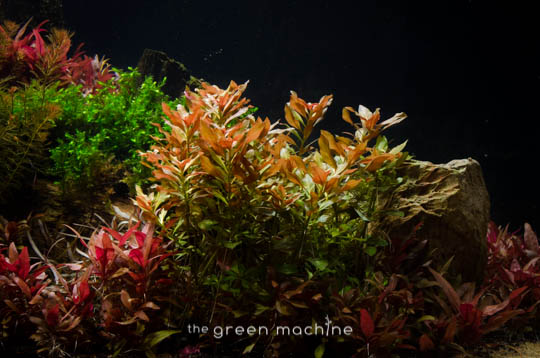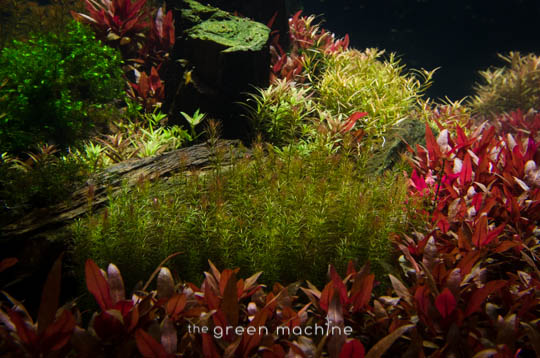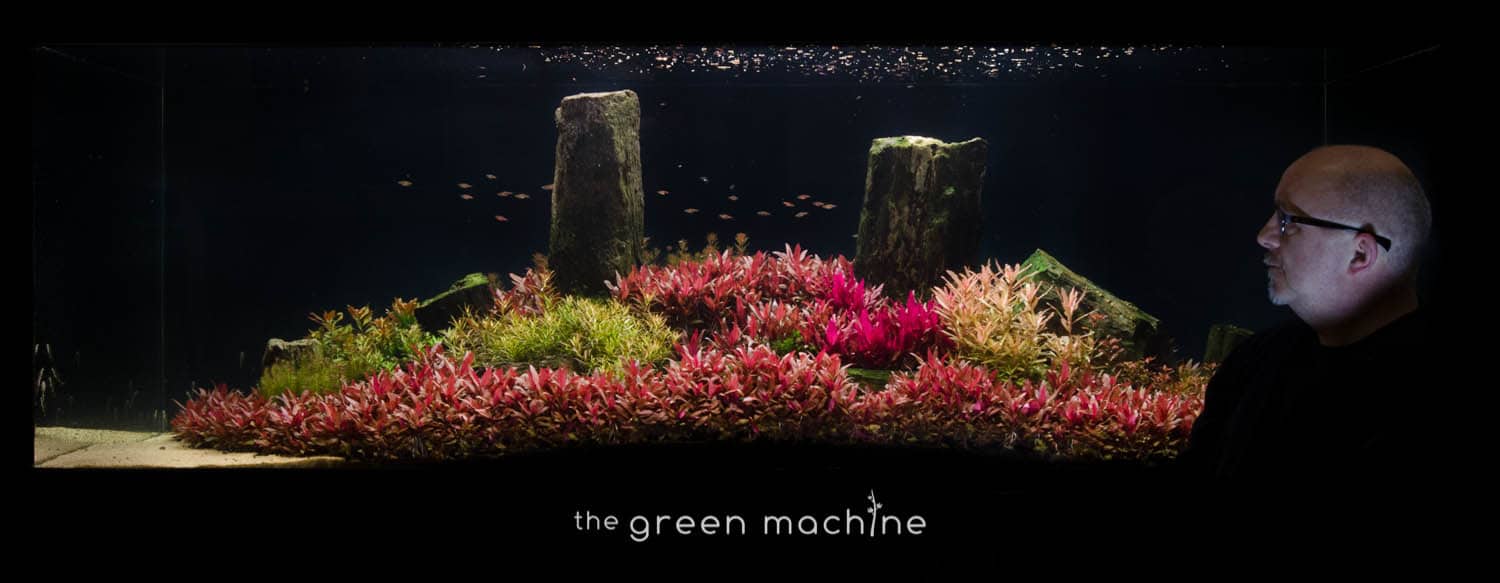
This aquascape was called ‘Arizona’ because the landscapes found in that part of the world were a large source of inspiration for this tank. James wanted the aquascape to be a bit different – a bit experimental, and since he has been experimenting with red hues in many of his aquascapes lately, like in Crimson Sky and Red Rock (video coming soon), he wanted to try it on a bigger scale. You can see that this tank continued that trend, utilising red tones not only in the plants but also in the hardscape because of the use of TGM Fossilised Wood.
This Aquascape Journal consists of a photographic documentation of the process from empty tank to mature aquascape. It spans a period of 6 months, with almost 100 photographs and a 1 hour video showing how each stage was accomplished.
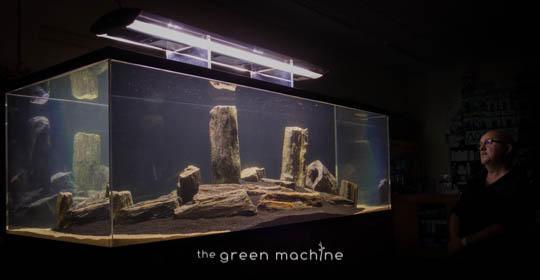
Above is a photograph of James with his finished work, 6 months after planting began!
Below is the ‘making-of’ video.
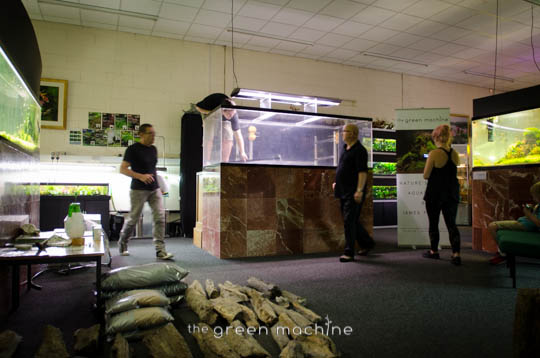
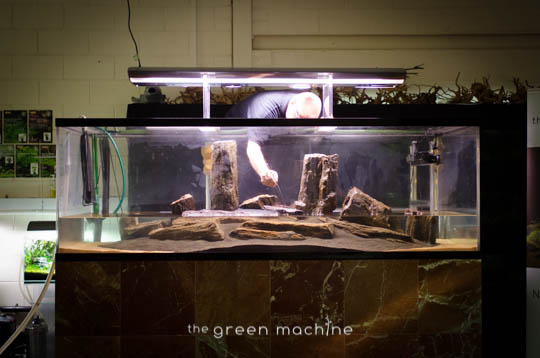
In this video you will see James Findley, professional aquascaper and founder of The Green Machine, planting one of the large display tanks that are in The Green Machine’s showroom.
Buy the ‘Arizona Plant Package’ (for 60-P size aquarium) here: Arizona Plant Package
Setup Specifications
- Aquarium – 228.6cm x 91.44cm x 76.2cm high 1600 Litre (approximateley) TGM all acrylic aquarium
- Stand – TGM marble tiled custom build
- Filtration & Heating – Eheim Thermo 2180 filter (with built in heater) with filter wool and 9 litres of Sera Siporax
- CO2 – TGM Custom Kit; 3KG bottle, Aqua Medic 1000 inline CO2 diffuser, ADA Drop Checker
- Lighting – Arcadia Series 4 triple 150W metal halide with twin 54W T5
- Substrate –
- Decor / hardscape – TGM Fossilised Wood
- Plants –
- Alternanthera reineckii ‘Mini’
- Ludwigia sp.
- Nesaea crassicaulis
- Alternanthera ‘Rosanervig’
- Ludwigia arcuata
- Hygrophila sp. ”Araguaia”
- Myriophyllum mattogrossense
- Limnophila hippuridoides
- Ludwigia repens ‘Rubin’
- Rotala wallichii
- Vesicularia dubyana ‘Christmas’
- Fontinalis antipyretica ‘Willow’
- Blyxa aubertii (replaced before 6 month shots)
- Limnobium laevigatum (removed before 6 month shots)
- Livestock – 15 x Flying Foxes, 20 x Otocinclus – Ottos, 6 x Botia sidthimunki, 250 x Crystal Red Shrimp, 30 x Espei rasbora, 10 x Kubotai rasbora, 8 x Emerald Eye Rasbora, 40 x Boraras brigittae.
Step by Step…
Click the images to zoOM IN.
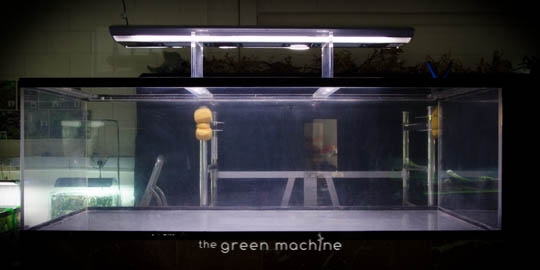
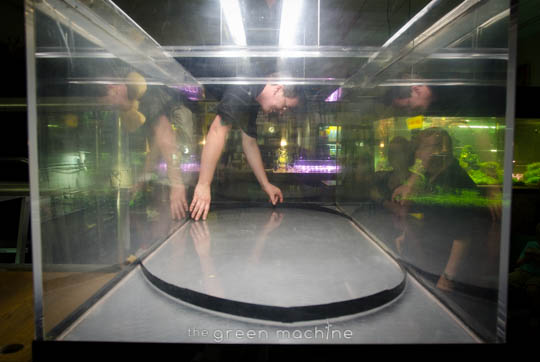
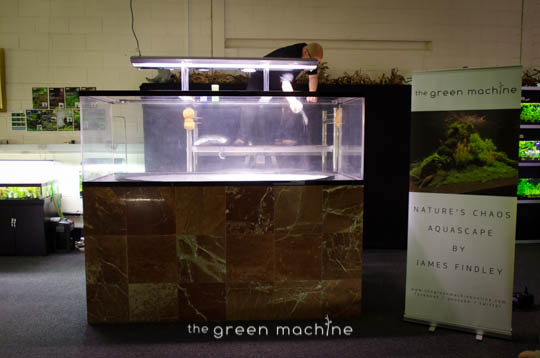
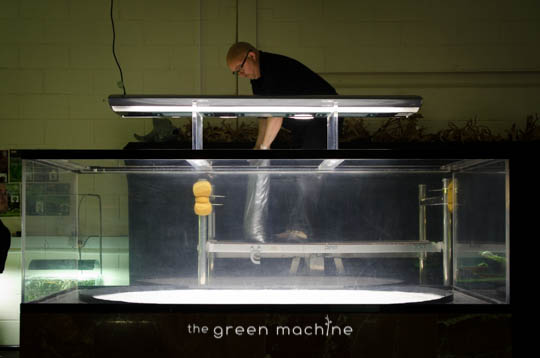
The empty aquascape, the blank canvas… all 1600 litres of it…
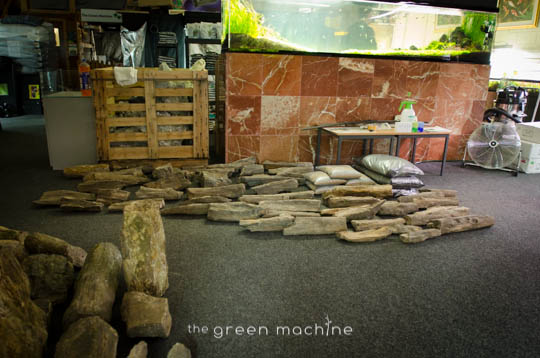
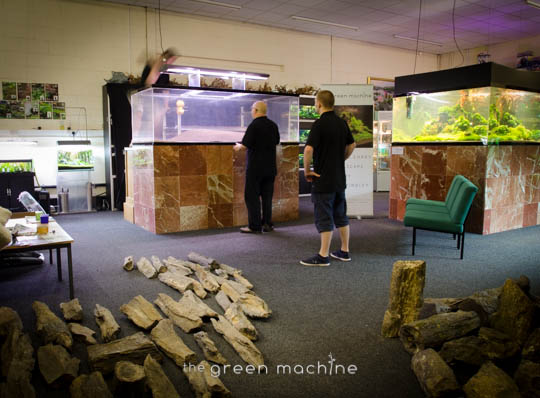
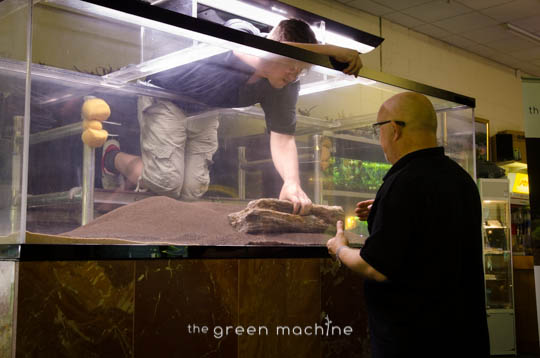
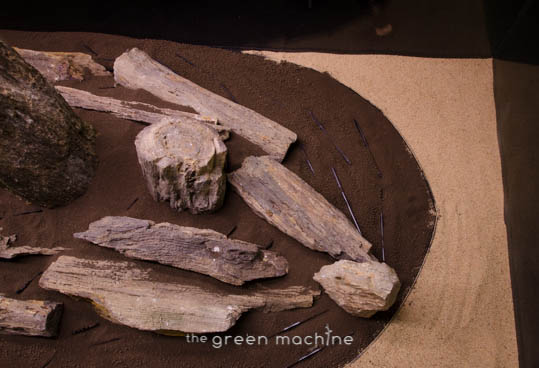
A fraction of our huge selection of TGM Fossilised Wood is layed out so James can choose as he proceeds with the layout…
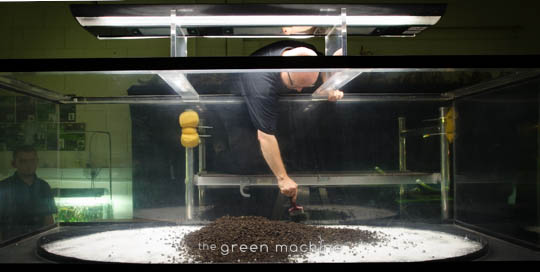
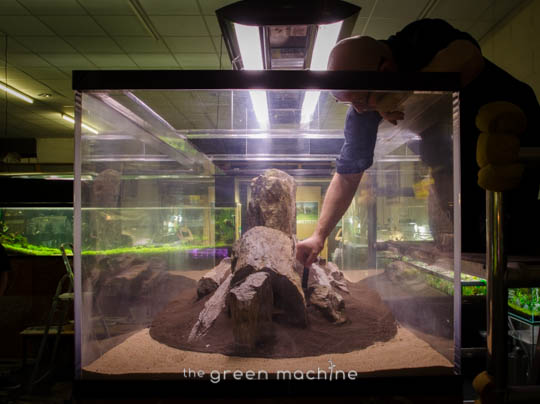
Dividers are secured to the bottom of the tank and used to provide a physical template to contain nutrient rich the substrate layer…
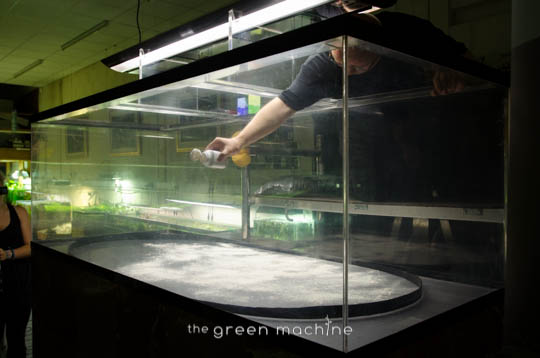
Substrate additives are added underneath where plants will grow (in the centre only, in this case)…
ADA Penac P and ADA Penac W are added…
Power Sand Special L is placed above the substrate additives, but below the Aqua Soil…
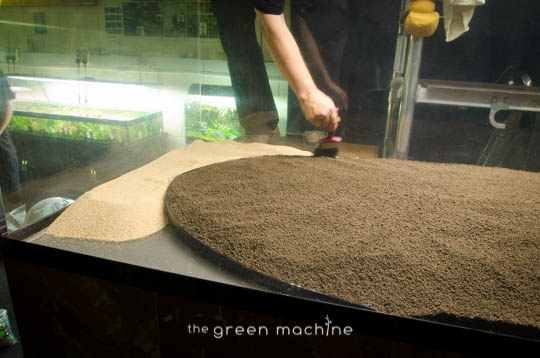
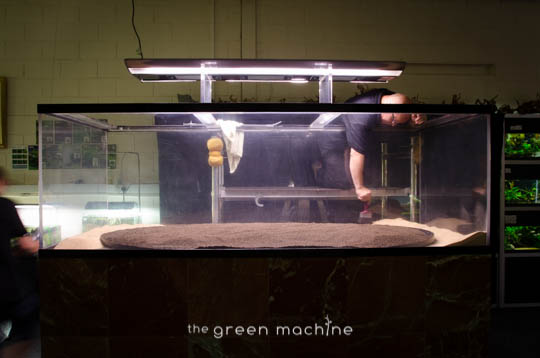
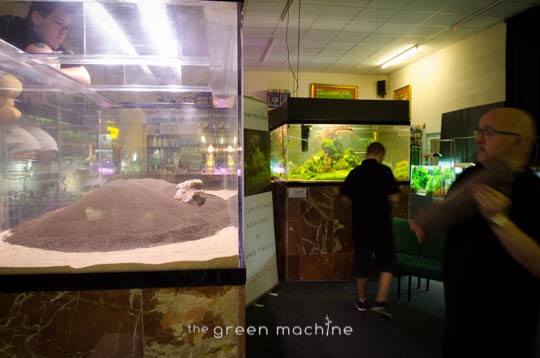
ADA Colorado Sand is added to the edges and is brought to the same level as the aquasoil…
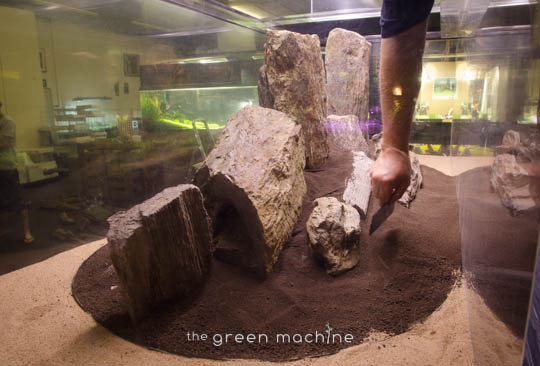
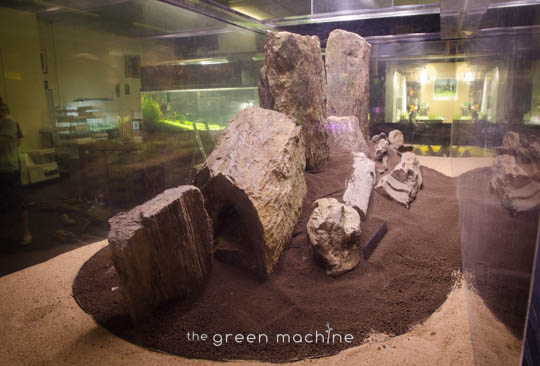
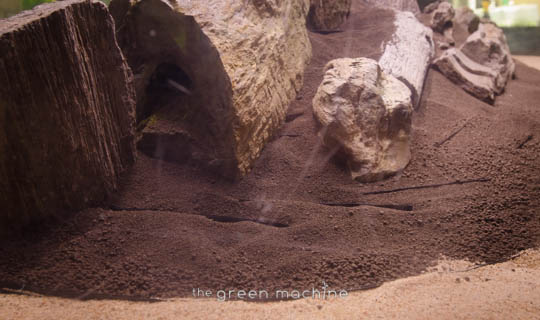
More ADA Aqua Soil Powder is poured between the stones to fill in any gaps…
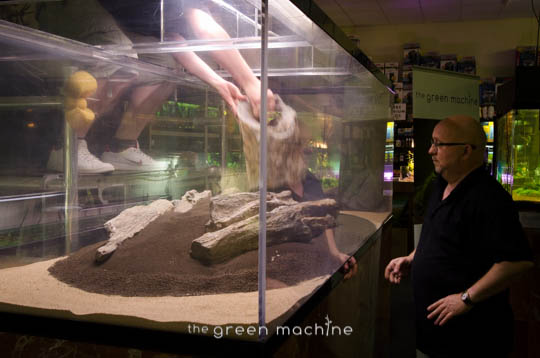
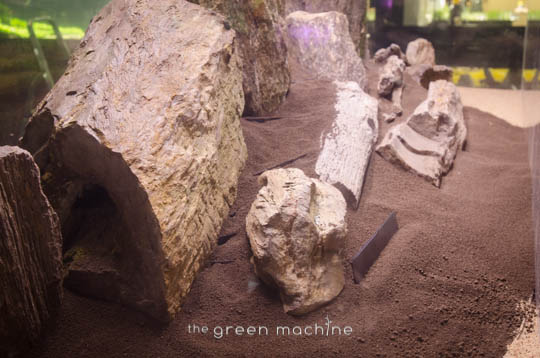
TGM Substrate Supports are now added to enable the substrate to be built up in height in the centre of the aquarium. Otherwise it would slide down to the edges over time.
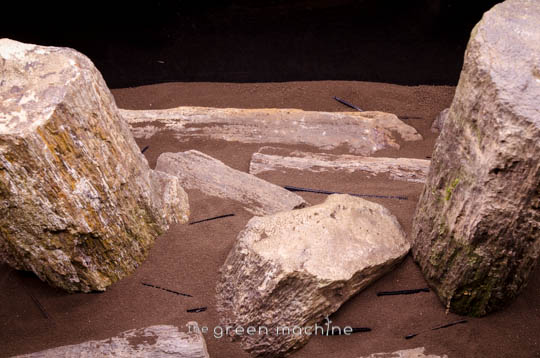
As you can see, the substrate supports have been positioned to stop the substrate collapsing between the stones and are quite heavily used.
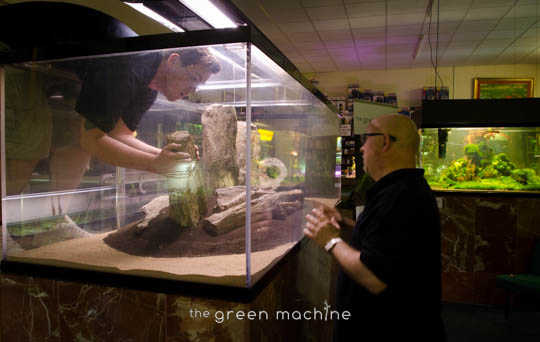
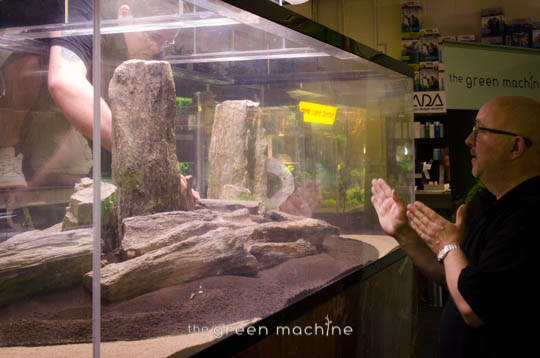
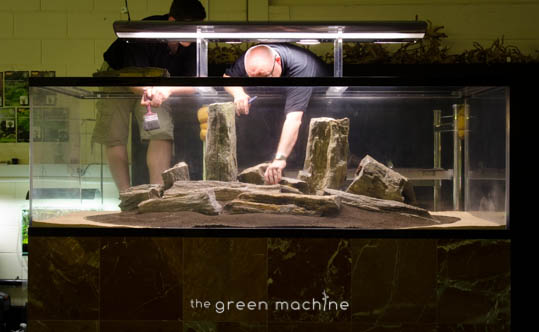
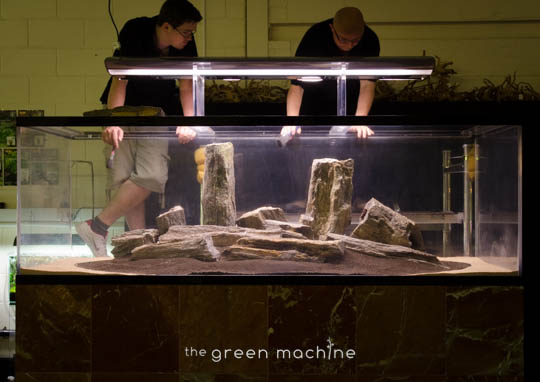
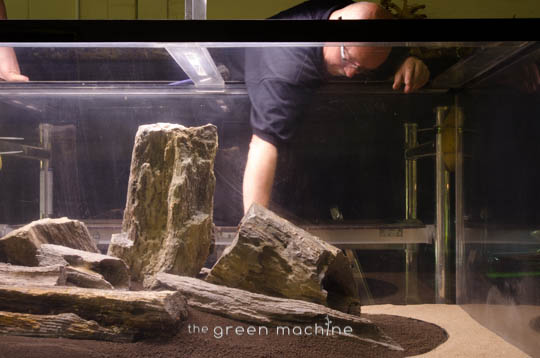
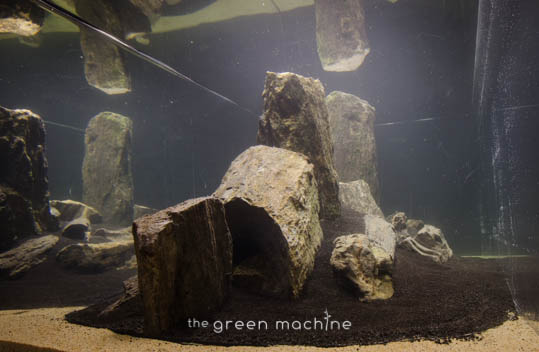
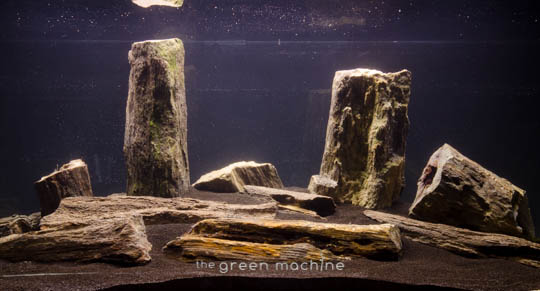
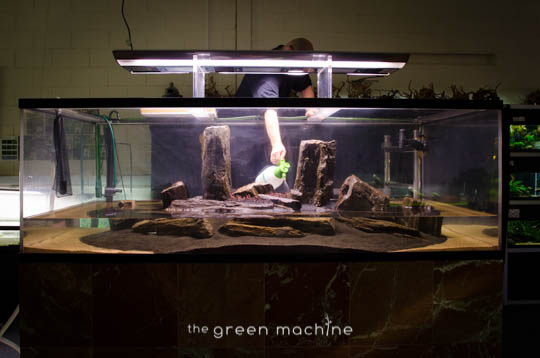
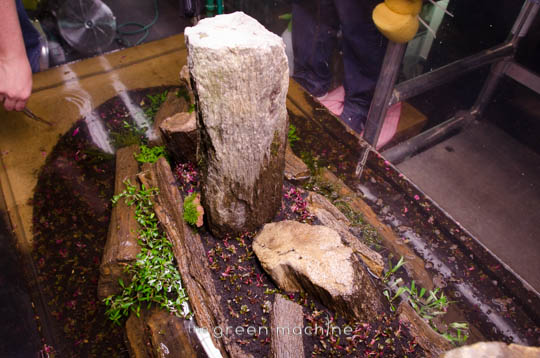
The hardscape is now finished…
Planting begins…
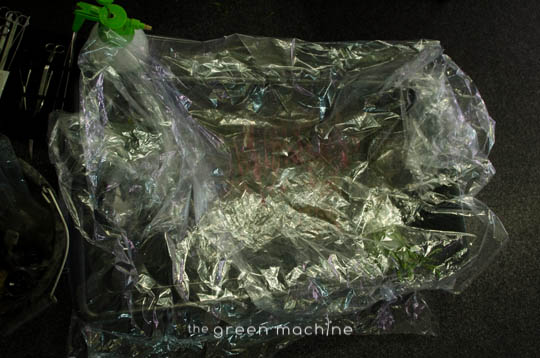
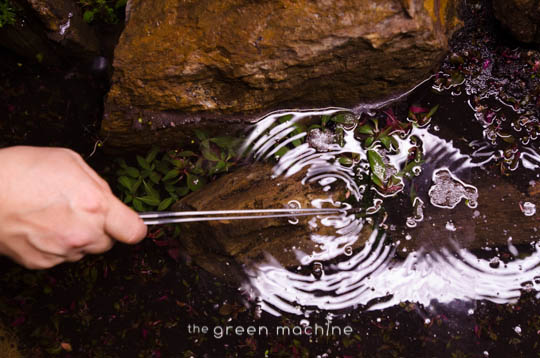
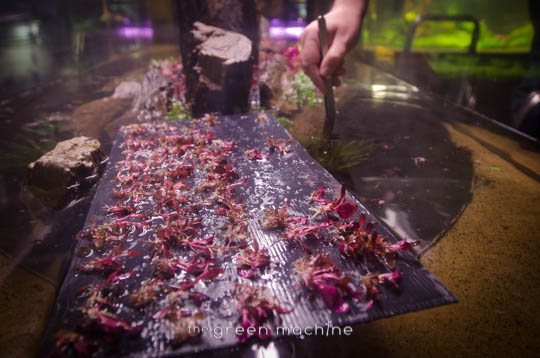
Plants are kept moist using a water spray and by covering them with plastic, until it is their turn to be planted…
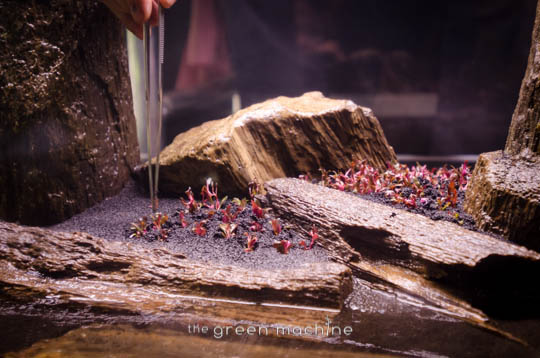
A good set of aquascaping pinsettes are essential for this job…
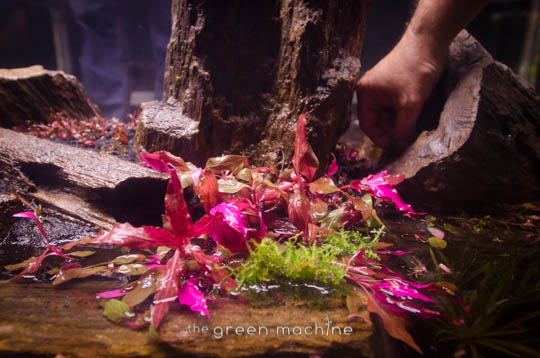
Alternanthera reineckii ‘Mini’ is planted in small plug-sized amounts which have been hand prepared…
Again plants are kept moist throughout the whole process…
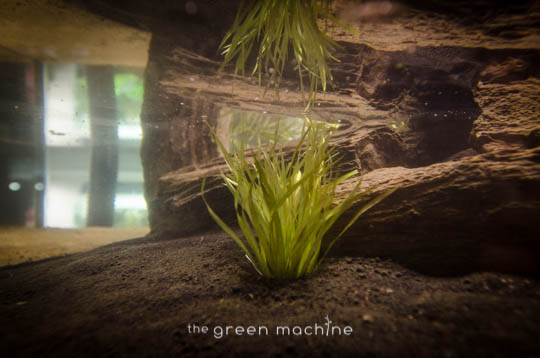
Blyxa aubertii…
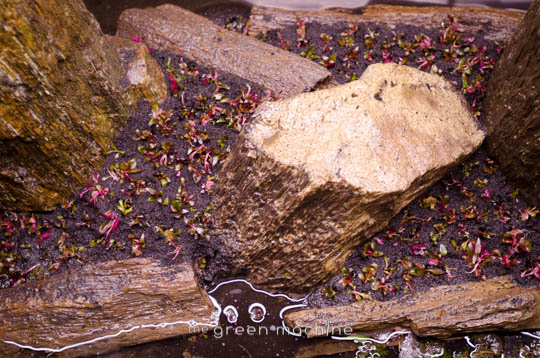
This shot shows the density of the planting for Alternanthera reineckii ‘Mini’, it is best to plant as heavily as ones budget allows…
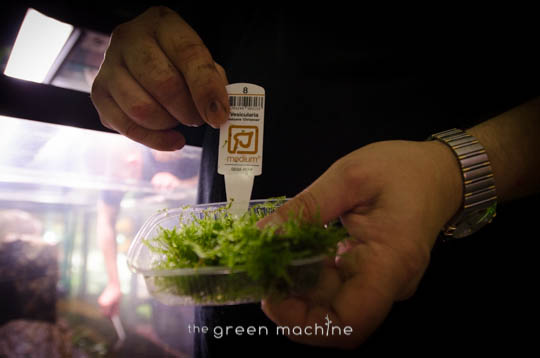
Vesicularia dubyana ‘Christmas’…
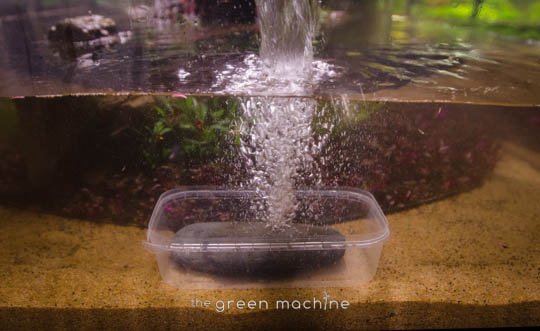
The aquarium is filled with water, a plastic tub is weighed down with a stone to direct the water flow at to prevent disturbance of substrate and plants.
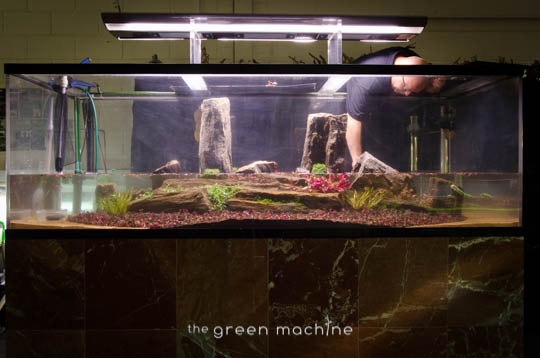
The end of a hard but enjoyable days work…
3 months after planting…
Myriophyllum mattogrossense sp Red…
Alternanthera reineckii ‘Mini’…
6 months after planting…
Myriophyllum mattogrossense sp Red…
Alternanthera reineckii ‘Mini’…
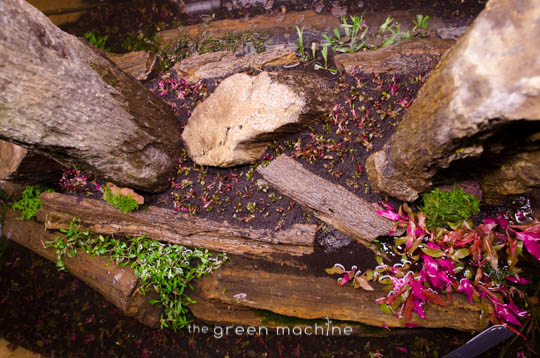
Ludwigia repens ‘Rubin’ in the foreground, to the right rear is Fontinalis antipyretica ‘Willow’…
Alternanthera reineckii ‘Mini’…
James Findley with his finished piece, 6 months after planting!
Like this article? Read more like this…
- Crimson Sky Aquascape by James Findley- Journal
- Aquascaping; A Whole New Dimension (Shallow Aquariums)
- ‘Fallen Tree’ Aquascape by James Findley
- ‘Natures Chaos’ Aquascape by James Findley
- ‘Riverbank’ Aquascape by James Findley
- The Power of ADA – A 60-P Nature Aquarium
- The Power of ADA – An ADA Nature Aquarium
- The Power of ADA – A Do!aqua Nature Aquarium
- + Many more! – Explore our website!
Video Transcript
In this video you will see James Findley, professional aquascaper and founder of The Green Machine, planting one of the large display tanks that are in The Green Machine’s showroom.
During this video you will see how James chose and positioned the hardscape, the planting techniques he used, and the sources of his inspiration.
For more information on any of the techniques used, please visit The Green Machine’s website.
0.20 This aquascape was called ‘Arizona’ because the landscapes found in that part of the world were a large source of inspiration for this tank. James wanted the aquascape to be a bit different – a bit experimental, and since he has been experimenting with red hues in many of his aquascapes lately, like in Crimson Sky and Red Rock, he wanted to try it on a bigger scale. You can see that this tank continued that trend, utilising red tones not only in the plants but also in the hardscape because of the use of TGM Fossilised Wood.
1.08 As you can see, this tank definitely provided that opportunity! This 1600 litre aquarium is one of the three largest true Nature Aquariums in the UK, all of which can be found in The Green Machine.
Now you will see the substrate layer being put in place: first the substrate additives are added, followed by the power sand and then the aqua soil which is a nutrient rich substrate that is perfect for aquascaping. Power Sand helps to create an environment in which beneficial bacteria can flourish and therefore helps with filtration, and makes gives the aquascape a far more natural environment.
In order to do this James starts by placing some TGM Substrate Supports in place. These are used for various different purposes during this aquascape. Here they are used to separate the area that will be for substrate from the area that will be fore decorative sand: the substrate supports ensure that the substrate does not mingle with the sand and that the sand therefore maintains its bright contrast.
In this layout the substrate needed to be banked up very highly in the middle so it was very important that the substrate was stable and you will see later that a t of substrate supports were used to prevent the substrate from slipping down. Before James invented this technique stones were commonly used for this purpose, but that was a relatively expensive and cumbersome method.
James described how he comes up with ideas for his new layouts: first he thinks of what might look a bit different, be a bit unusual and depart from the normal rules and conventions of art. When he has come up with a few concepts he chooses the most attractive one and then starts to think about how the challenges presented by that layout can be overcome, in this layout, for example, in
Altitude the challenge was discovering how to create such extreme height whereas in this layout one of the big challenges was figuring out how the large stones could be supported and kept in position without them collapsing, which would be a disaster for the layout. Choosing plants that will grow in well and be relatively easy to maintain is always a challenge with any new layout.
To ensure that the huge stones did not collapse, James made the substrate very deep, and used substrate supports to ensure that the depth was maintained.
06.26 In addition to that, he also arranged the stones in an unusual way: usually in aquascaping the main stone should be placed first, followed by the secondary stone, then the tertiary stone and so on, until the smallest and least significant stones are placed last. In this layout, however, that technique would not have worked because the main stone was so large that it would not have stood up on its own without first being supported. As a result of that problem the technique was adapted so the smaller, horizontal stones were placed into the layout first. These then supported the larger stones by holding the substrate in place.
The hardscape in this layout was not planned so James had a large quantity of TGM Fossilised Wood laid out on the floor so that he could select the most beautiful pieces as he went along. He chose fossilised wood because it has a similar look as the landscape he was inspired by. Fossilised wood is also currently one of his favourite materials to work with because it has such an interesting form and texture. The shapes of this stone were also perfect for this layout because, since fossilised wood is basically ancient tree trunks and branches, the stones are often tall and height was what was needed in this layout.
You can see that the selection that was used was huge – there are always huge quantities of hardscape materials to choose from in The Green Machine, since they believe it is a vital part of achieving success in aquascaping, and one of the most fun and exciting elements of creating an aquascape. If you’re not confident when creating a layout, then the team at TGM will be happy to assist and advise you.
You can start to see the full height of the substrate in this layout.
8.42 Here James is ensuring that there is a good flow in the form of the layout so that it doesn’t look too segmented when it is completed. Some small gaps don’t matter though, becuas the plants will soon grow into these spaces.
Smaller stones were used to fill the gaps between the larger ones and then aqua soil powder was brushed into the gaps to solidify the stonework.
12.50 Now the main signature stone is placed into the layout. When choosing the main stone James was looking for a stone that was dramatic, unusual and had great height – for something colossal.
These main stones are vital because they give the whole impact to the tank, so it is important that they are chosen wisely. The main stone chosen here was huge – it probably weighed in excess of twenty kilograms.
13.54 The first stone is held in place and considered, then it is put in place to see what it looks like. You can see the nature and history of fossilized wood in this piece – which is clearly a piece of wood that has been hollowed and fossilised by time. When choosing the main stone it is important to try a few different stones before deciding on a final stone.
Notice how each stone is placed roughly two thirds from each end of the aquarium which interestingly creates an unusual sense of symmetry that James wanted to experiment with, explaining that breaking the rules often achieves the best results.
14.39 James decided he wasn’t happy with the positioning of this stone – he wanted to make the most of the unusual hollow of this stone so he re-arranged it so that it was placed on its end.
15.06 Now another vertical stone is added to the layout. You can see how both vertical stones have been placed at roughly two-thirds from each end of the tank – which is the Golden Ratio. The Golden Ratio has been used by artists since ancient times and it is an artistic rule or guideline that suggests that focal points in art be placed roughly two thirds into the work – two thirds from the end or two thirds the height of the piece. When focal points are placed in line with the Golden Ratio this creates an artwork that is particularly pleasing to the human eye. It is only a guideline though, and in this piece James has experimented with the Golden Ratio by placing each main stone at opposite ends of the Golden Ratio in the layout, creating a layout that is strangely seductive in its unusualness, boldness and break from the ordinary. When planting a tank it is important to experiment with rules and guidelines, and to play around with your layouts and it is important for two reasons: first, it is important because it is only by breaking the rules that we achieve brilliance, and secondly, because experimentation is the best way to learn and improve your aquascaping experience and ability.
16.00 Now James chooses a smooth, flat topped stone with a very granular structure to add to the layout.
16.26 This stone is placed in the layout to ensure that the entire substrate mound is supported properly as this will stop the substrate from being pushed out as the weight of the huge stones compresses it.
16.39 Here, you can see ‘Altitude’ in the background
16.50 Now James chooses some smaller, tertiary stones from the large selection he has laid out. He finds this an exciting, fun and challenging way to work
17.16 Here you can see how the fossilised wood has retained its beautiful wooden grain and texture, and why it is such a sought after stone – James spent years sourcing this stone… there are many cheap imitations on the market, and most of them are not suitable vfor use in planted tanks since they have a tendency to disintegrate and affect water quality, but TGM Fossilised Wood is perfect for Nature Aquariums.
18.14 The fossilised wood has an almost monolithic look, creating an atmosphere that is reminiscent of ancient adventures: a window into the history of the earth. Now you can start to see the vast size and scale of the main stones, which almost touch the surface of the water.
18.46 The final pieces are now added to the layout to finish it with the detail and complexity of the natural world.
19.00 This stone is chosen for its flat top to replicate the flat tops of the dominant stones and to re-create the wild landscapes of Arizona that inspired the layout.
19.25 Now James makes a final arrangement of the stones, checking that the overall feel of the layout is well balanced artistically effective.
20.33 since it is so important that this layout is sturdy and does not collapse, more substrate supports are added. Substrate supports are particularly useful here since the substrate mound is very high in order to support the dominant stones. Because the rock work is intricate some small substrate supports are needed. If the substrate mound collapsed, it would truly be a disaster – the weight of the stones would destroy the entire layout, so a great deal of time is taken to ensure that there are enough Substrate Supports to prevent this from happening. Whilst it may feel a little time consuming now, it is a vital step in creating a tank that is daring and bold enough to use such large dominant stones in a vertical position.
22.06 The substrate supports are put in place like steps, to ensure that each layer is banked up within the mound of substrate.
24.26 The aquarium is now filled with water.
26.20
Now the plants are added. James chose to use plants that were all red: this doesn’t mean that they were all bright red, for nature always provides a wide range of colour, hues and tones and this is no different in the world of red plants. The variety of red plants is quite astonishing when explored, and James used this to its full advantage by selecting plants with hues of red that ranged from pink, to red to orange and even hints of yellows and lilacs. The plants used were: muyriophyyllum mattegrosense Red, alternathera rosanervig, alternathera reinicki sp mini, hygrophila pinnitifada, ludwigia sp, blyxa albertii, hygrophila araguaya, lymnophilia hippoides, ludwigia glandulosa and ludwigia acuata.
Plant preparation is essential. As you will see, all of the plants James uses have been prepared properly before planting. Plant preparation techniques will vary depending on the species of plant. A good pair of aquascaping pinsettes and scissors are vital to ensure that you can plant easily, efficiently and precisely. For more information on planting techniques, view our short videos on plant preparation which deal specifically with hemianthus Cuba, Hairgrass and stemplants.
If plants are not prepared well and planted well then they will not thrive and may not even survive. With good advice about the right technique you will be able to create a beautiful planted tank.
When choosing and placing your plants it is also important to consider how they grow. Plants that are grown in can look very different from when they are first bought – some will grow significantly taller, whilst others will stay short, some will spread out very widely, while others will remain small. If you plant a tall plant in a space that you want to be kept quite short, you will spend a lot of time trimming the plant to keep it at the length you want it to be. But if you choose your plants by how they will look when they are mature then maintenance will be much easier.
29.55 Here James is considering where to place the Blyxa. Blyxa grows quite tall so he wanted to place it in an area of the layout that was quite low, to prevent the Blyxa from dwarfing the hardscape. This plant is green with a red hue on its tips, and was selected to provide a highlight of green in the layout and to add some dynamism: Blyxa leaves move beautifully in the water.
30.19 Limnophilia hippoides is now added in small spaces between the rocks. This plant was chosen by James because it has good structural stems which develop a purple tinge on their shoots which was selected in order to provide a strong compliment to the red carpeting plants that would surround it.
31.00 Ludwigia glandulosa is added next
31.33 Myriophyllum mattogrosense Red is now planted in individual stems, because it grows better when it is separated into individual stems before planting. This plant was chosen because it has a beautiful orange-red colour which James knew would compliment the colour of the Fossilised wood and the red hues of the plants. james has been experimenting with stem plants recently and explained that stems can be used to create a very strong, dense look by cutting them back rigorously, if you are prepared to invest some time in maintenance.
33.28 Here you can see the Boatia Sidthimunki in Nature’s Chaos. These fish are fantastic snail eaters and add an element of movement and diversity to the bottom of your layout.
33.59 Now Ludwigia arcuata is added. This plant develops deep russet shades and, with the right pruning, which does take time, it will develop into a stunning group of stems.
FINAL SHOTS
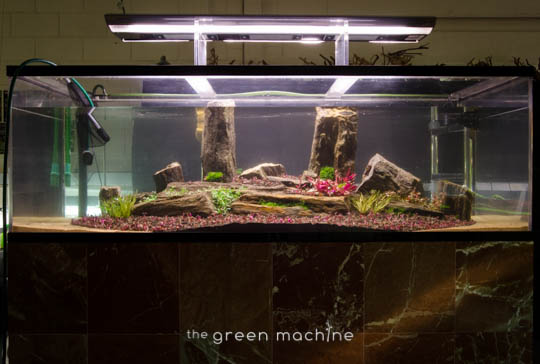
Now you can finally see the layout has come together. Even at this stage, it is not quite fully grown.
When creating this layout James wanted to invert the usual rule of colour that we see in Nature Aquariums – that usual rule is that green is the vastly dominant colour, and red plants are used sparingly to highlight particular areas within the layout. Here, you can see how James has accomplished that: this layout is fiercely brave in its approach to colour, turning the usual rules of aquascaping upside down, almost literally.
This creates a high impact, dramatic and bold layout that is reminiscent of an autumn day. The depth and breadth of red hues in this layout is vast and the immense stones of fossilised wood stand tall and proud, watching over the layout. The highlights of green lead the eye around the tank horizontally and the dominant stones draw the eyes upwards, making the most of the huge space in this tank.
The addition of the fish brings a welcome sense of hustle and bustle: around 1,000 chili rasboras have been added to this aquarium. They are small fish that create a sense of dynamism and motion within the layout. Rasbora sp I were added to bring some variety because these are a little bigger and some Siamese Flying Fox were a welcome addition since they are such good algae eaters. When choosing fish for Nature Aquariums, it is important to select mostly small fish in order to create a natural atmosphere and maintain the sense of scale in the layout.
1.27 Close up shots of the plants illustrate how well they have grown in and how healthy they are – which is a testament to the knowledge and maintenance techniques of James and the TGM team. The brave contrast of the reds and the greens can be appreciated now, and the huge variety of different leaf shapes and textures of plants can be admired.
1.50 the true size of the dominant stones is breath taking: they rise from the substrate mound like giants, tall and strong, creating a daring, bold and unusual layout.
James has added some limnobium laevigatum to the layout now, which he feels is reminiscent of the odd cloud floating above the flat-topped landscapes of the Arizona region.
2.18 Some willow moss has also been added to create a sense age and the passage of time, which is entirely appropriate for these ancient fossilised stones. This layout does have a feeling that is almost reminiscent of ancient times, before humans ruled the earth, and it certainly captures the rugged, isolated, clay-red landscapes of the American deserts.
James has often said in the past that an aquascape is like another world or planet, and that creating an aquascaper is, in that sense, almost godly. Aquascapes each have their own environments, their own eco-systems, chemistry and conditions. This aquascape is certainly other-worldly. Its forms and colours are familiar, but not entirely usual and the textures, contrasts and spaces in it are fantastical. The fish in this layout could almost, but not quite, be birds, and therefore are suggestive of some strange life form from another time, another era or another world.
This layout shows the importance of good artistic design. And not only the design of the overall layout and the main focal points, but also the design of the minute details. Even the close-up shots of this layout are stunning. The detail and intricacy that has been put into this tank is noticeable. That is one of the many skills that an aquascaper must develop – the ability to design and create not only on a large scale, but in the minute and the ability to do this simultaneously – to design and create on a large scale whilst also on a minute scale is a true challenge, and one that most aquascapers will develop over time, with the right guidance and advice.
The grain of the fossilised wood, which is actually stone, can now be truly appreciated.

