
Congratulations to Stuart Worrall, a customer of The Green Machine, for being selected to showcase what can be achieved with the ADA and Do!aqua Nature Aquarium systems. This Aquascape Journal was created and photographed by Stuart – we think it shows the beauty and unsurpassed class of the ADA Nature Aquarium system to perfection!
ADA are looking for more people like Stuart; people with a passion for aquascaping, an eye for photography and some experience of working with the ADA or Do!aqua Nature Aquarium systems, to show their potential and demonstrate the natural beauty and success that can be achieved with the ADA system.
So if you think you can aquascape and have some experience of working with ADA, or you know someone else who might, please contact us to let us know!
For more details about this aquascape, and a step-by-step Aquascape Journal please read on! If you would like some help, advice or assistance to re-create this Nature Aquarium style, or any other style, please contact us and we will be happy to help.
Technical Specifications
- Tank: ADA Cube Garden Mini M – 36x22x26cm / 5mm optiwhite glass
- Hardscape: ADA Yamaya Rock, ADA Hornwood
- CO2: Pressurised via Do!Aqua Music Glass – Mini 10D, Music Counter and ADA Grey Parts Set
- Lighting: ADA Solar Mini-M – 27W light
- Filtration: External filter to
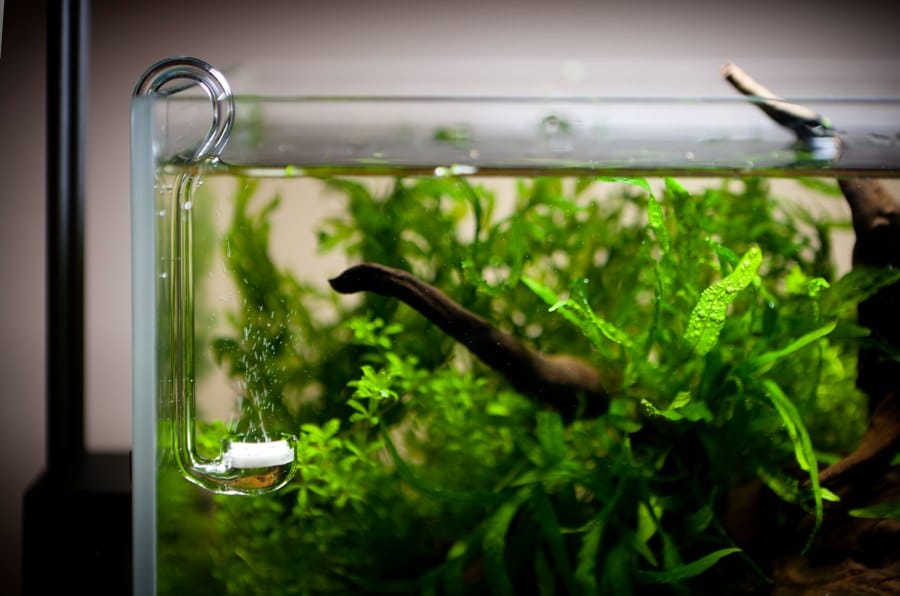
- Outlet – Do!Aqua Violet Glass mini MP-1 10D
- Inlet – Do!Aqua Violet Glass mini MV-1 13D
- Heating: None yet as its in a centrally heated room. I may add an inline heater in the winter
- Substrate:
- ADA Power Sand Special topped with ADA Africana Powder
- Tourmaline BC for good measure
- Ferts per day: ADA Green Brighty Step 1 and Brighty K
- Critters: Red Cherry Shrimp, fish undecided yet
- Plants to include – Ferns, Echinodorus Tenellus, Hairgrass, fissidens, mosses, Bolbitus Heudelotii and a carpet of Elatine Hyropiper
Step by Step
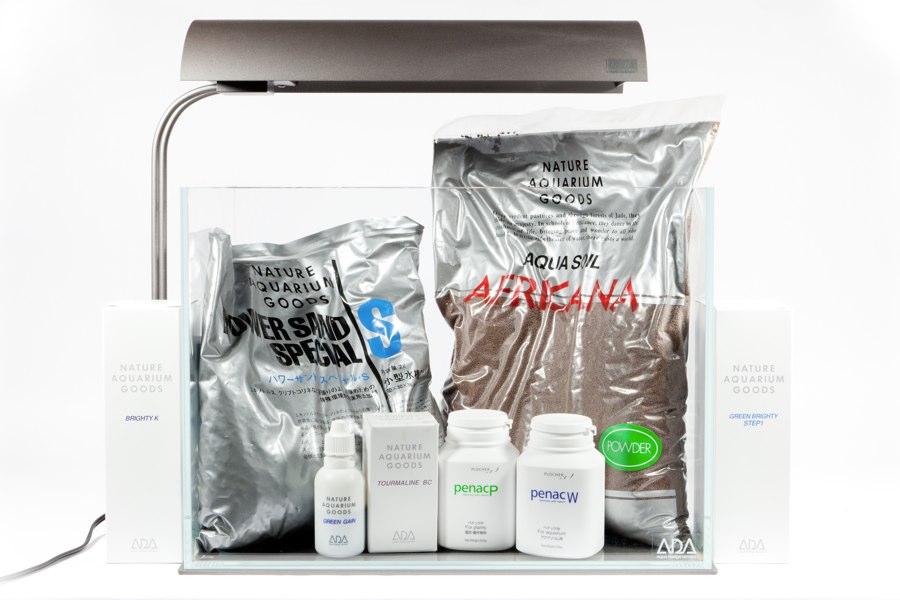
ADA products to be used
– ADA Power Sand Special S / ADA Aqua Soil Powder Africana 2 x 3l / Toumaline BC
– Fertilisers; ADA Brighty K and ADA Green Brighty Step 1
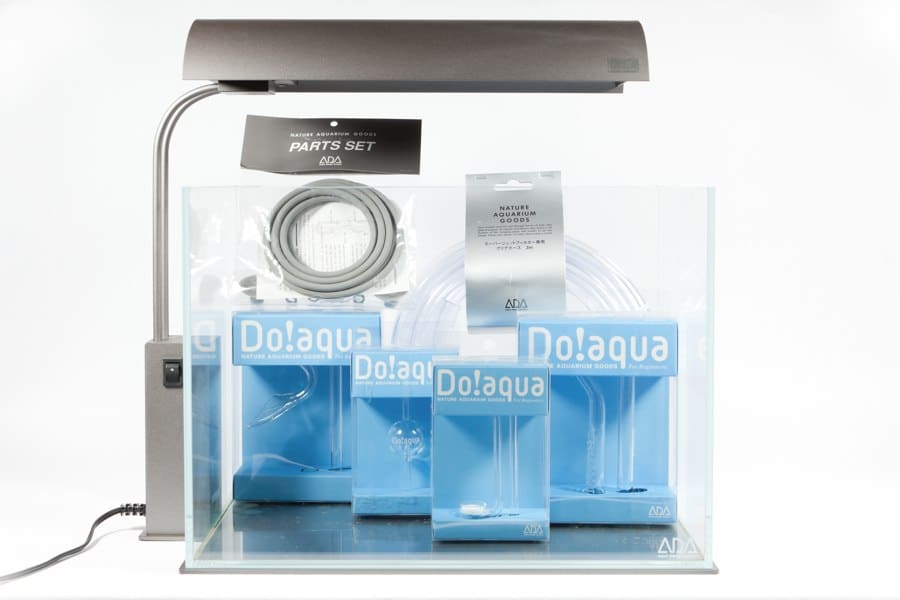
ADA glassware to be used in the tank
– Outlet – Do!Aqua Violet Glass mini MP-1 10D
– Inlet – Do!Aqua Violet Glass mini MV-1 13D
– Do!Aqua Music Glass – Mini 10D, Music Counter and ADA Grey Parts Set
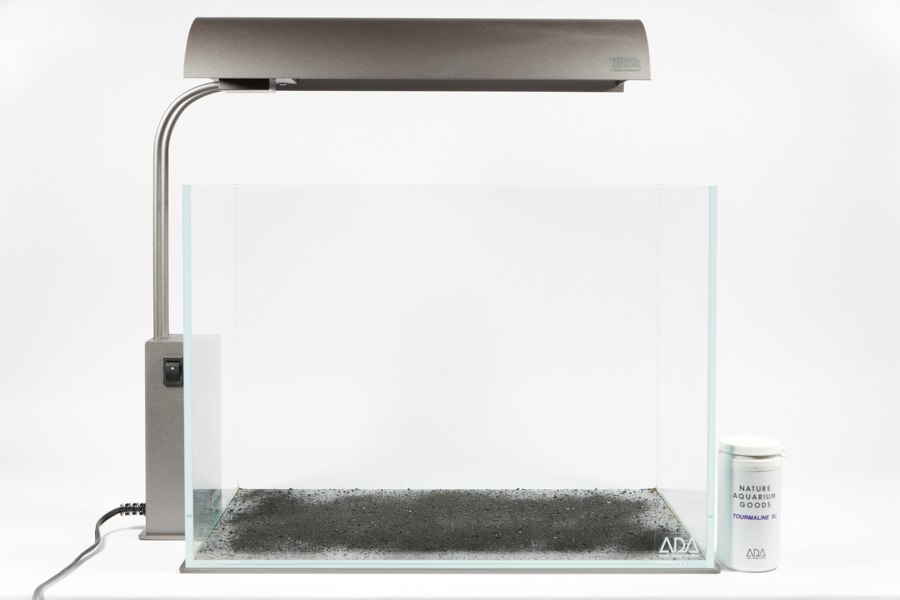
Tourmaline BC being added
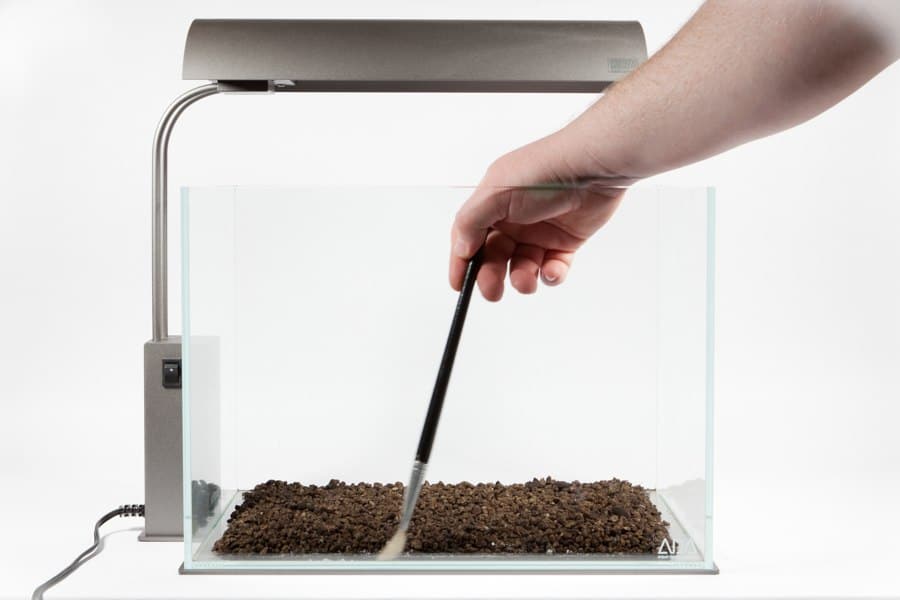
Power Sand Special S added. In order to prevent the Power Sand Special S from being seen against the glass I used a paintbrush to clear a 1cm path around the edges of the tank.

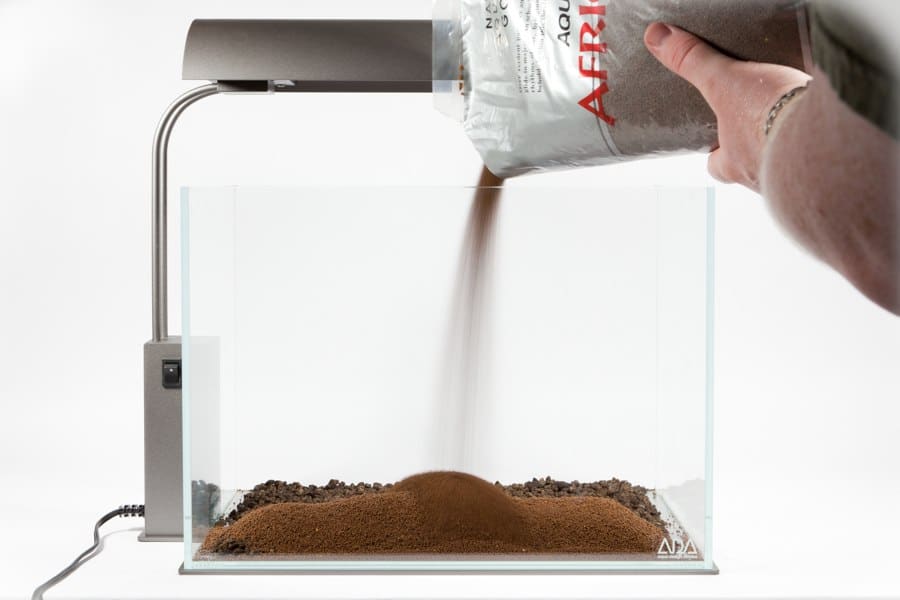
ADA Aqua Soil Powder Africana being added straight from the bag.

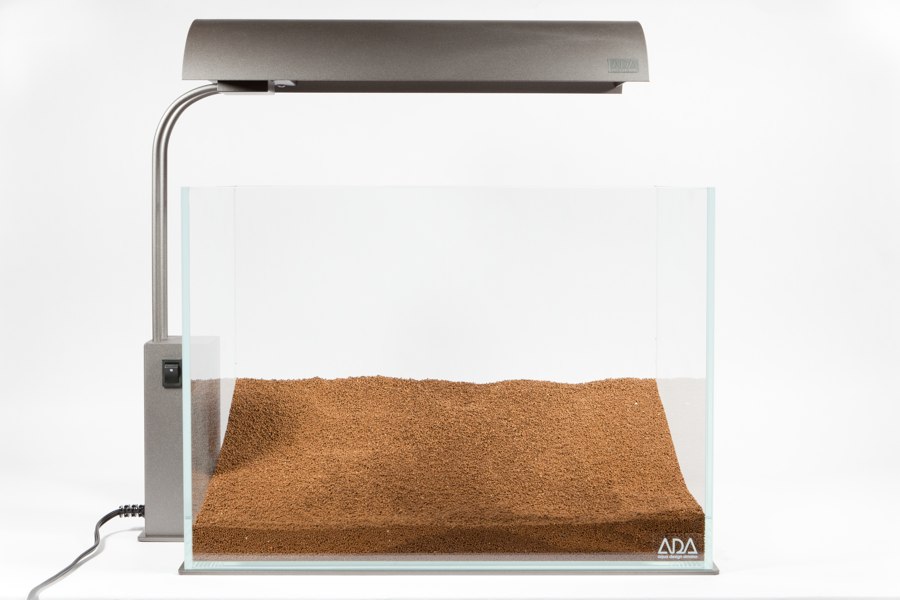
Aqua Soil Powder Africana levelled off and sloped up to the back to promote visual depth in the scape.
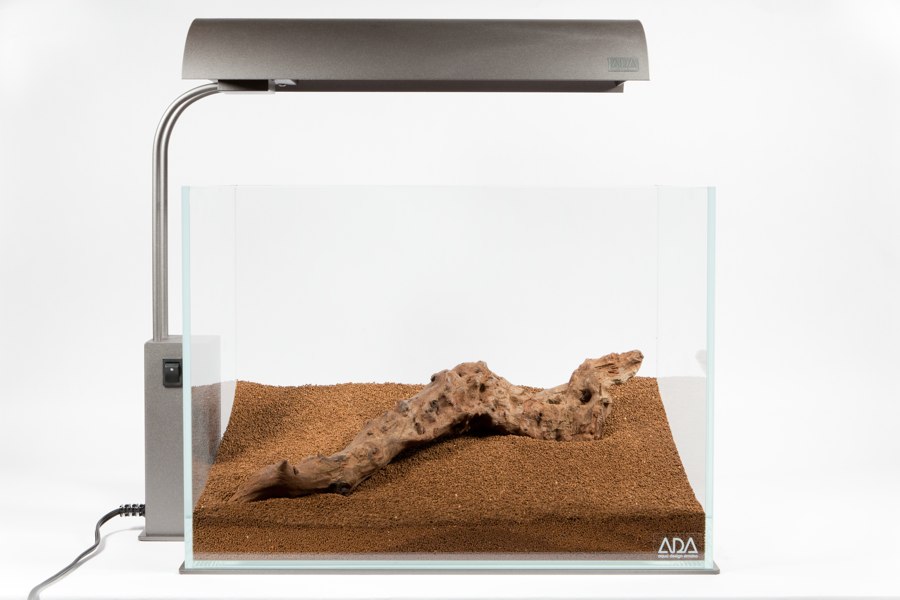
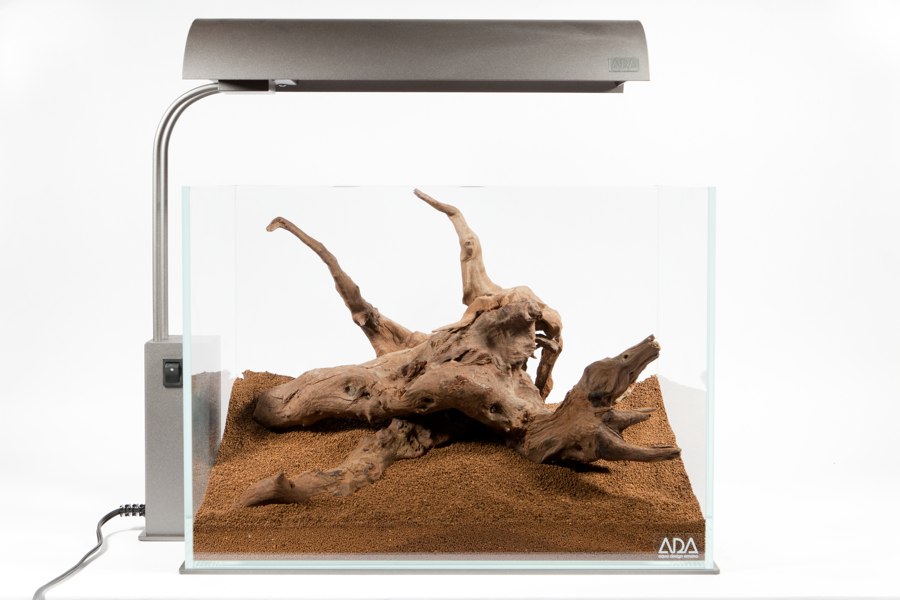
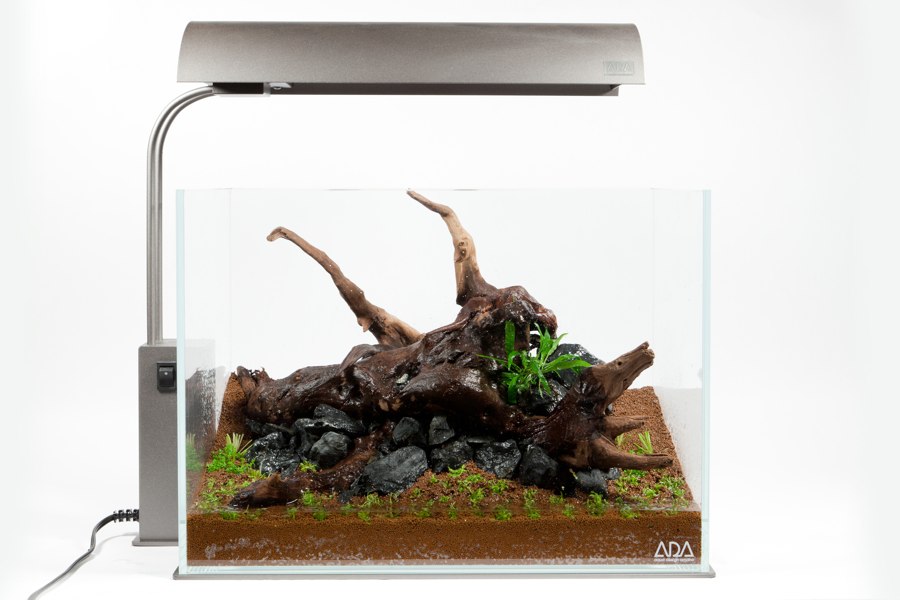
The ADA Hornwood was added to the tank piece by piece and buried in the soil to give a feeling that it has been submerged for a long time and the soil has slowly gatherd up along the edges.


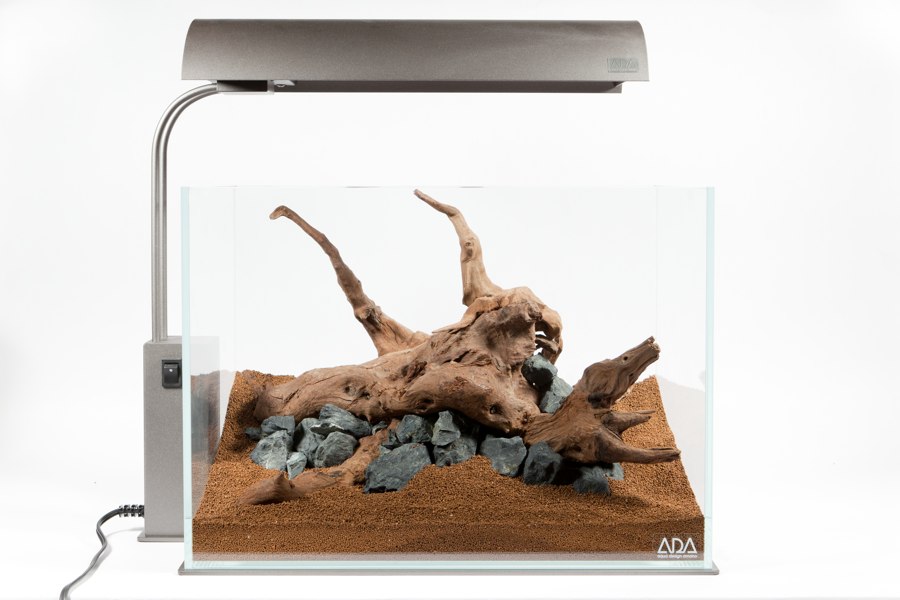
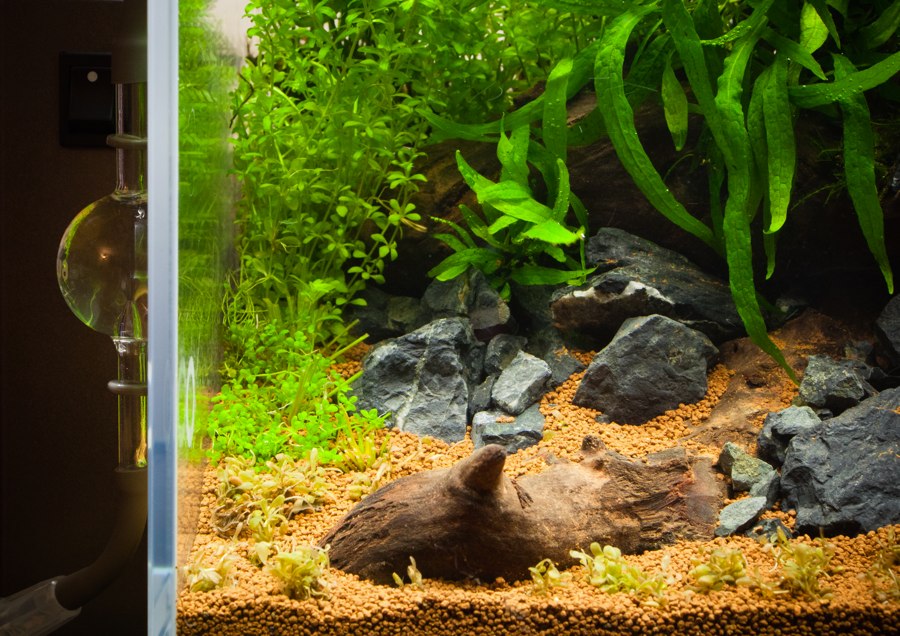
ADA Yamaya Stone was added around the ADA Hornwood to fully bed the wood into the soil and provide some contrast against the brown colours. Some of the rock was smashed with a hammer to increase the grading and provide a sense of scale.
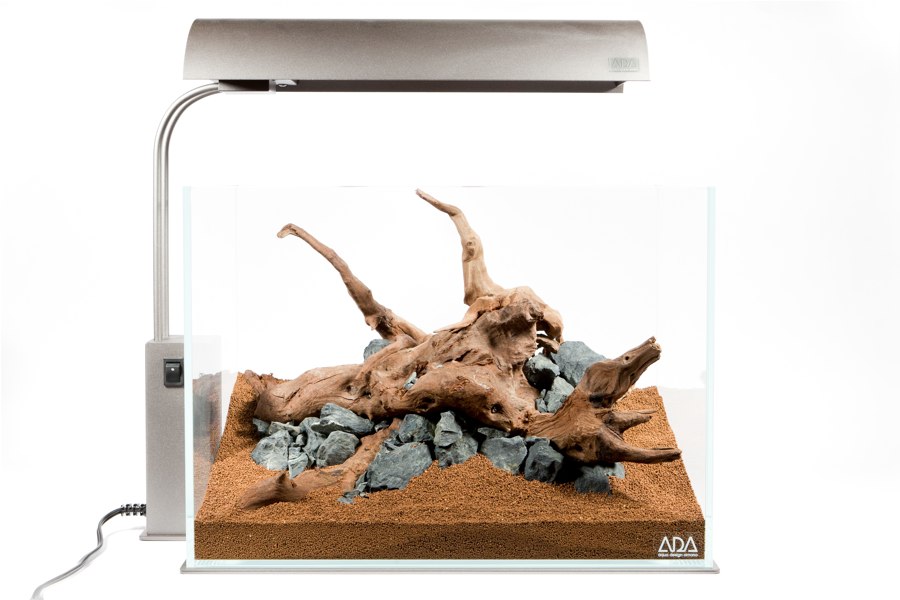

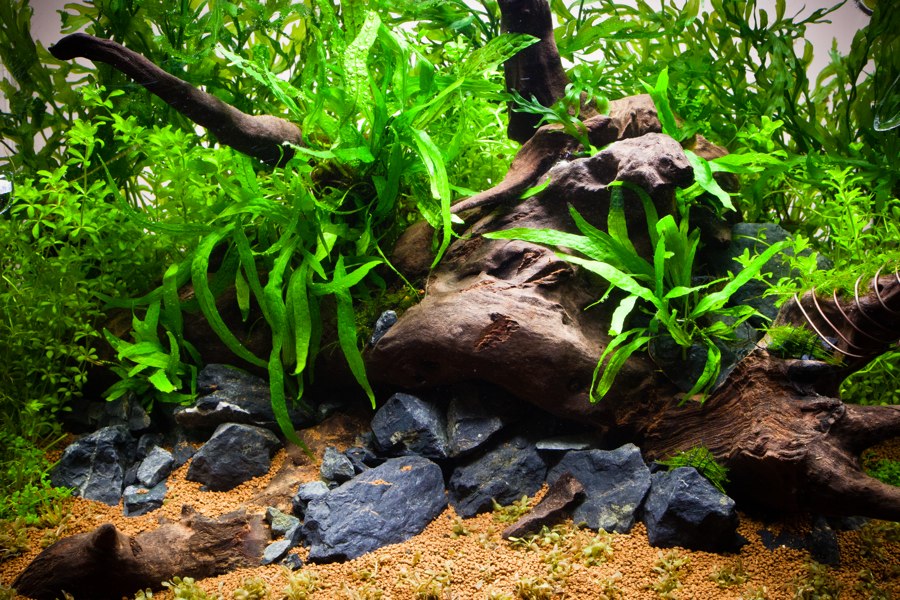
Detail shot of the wood and stone. You can see how the smaller granules of the Aqua Soil Powder work well in Nano/Small aquariums.
The tank was soaked with a sprayer so the water level raised to about an inch in the substrate. This is to aid planting of the carpet at the front of the scape as it is easier when it is wet.
Planting of the Glossostigma Elatinoides carpet.

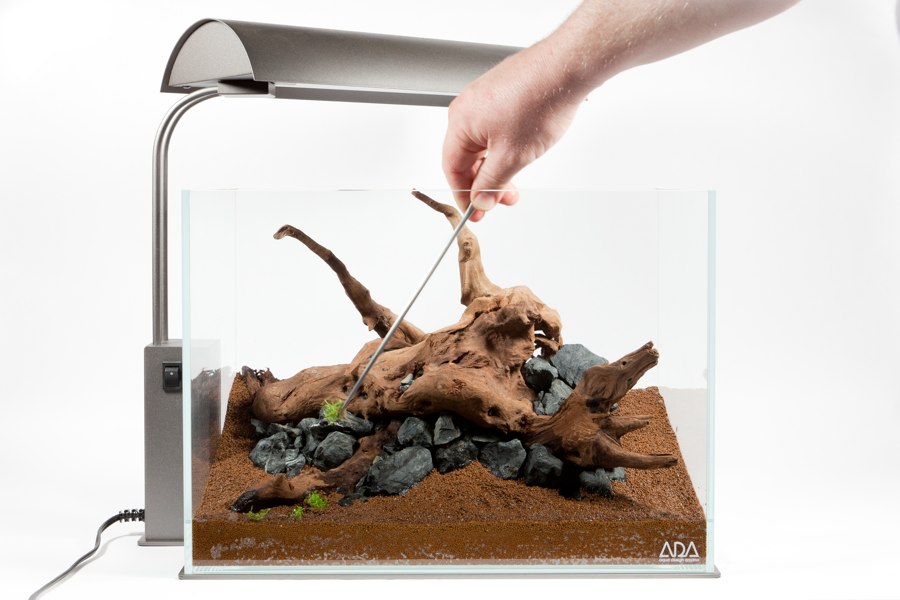
The ferns and tennelus start being planted. The ferns have been tied to small Yamaya Stones to secure them – ADA Wood Tight and ADA Moss Cotton are ideal for this.
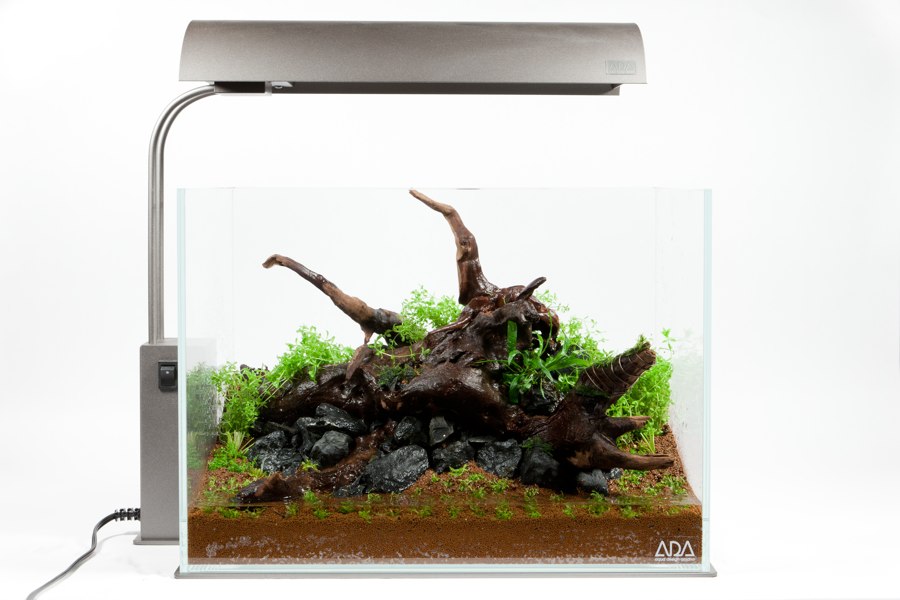

More ferns are added and the Bolbitis is also added to the back of the scape. Again as per the ferns this has been attached to Yamaya Stone to aid maintenance and to stop them floating away.

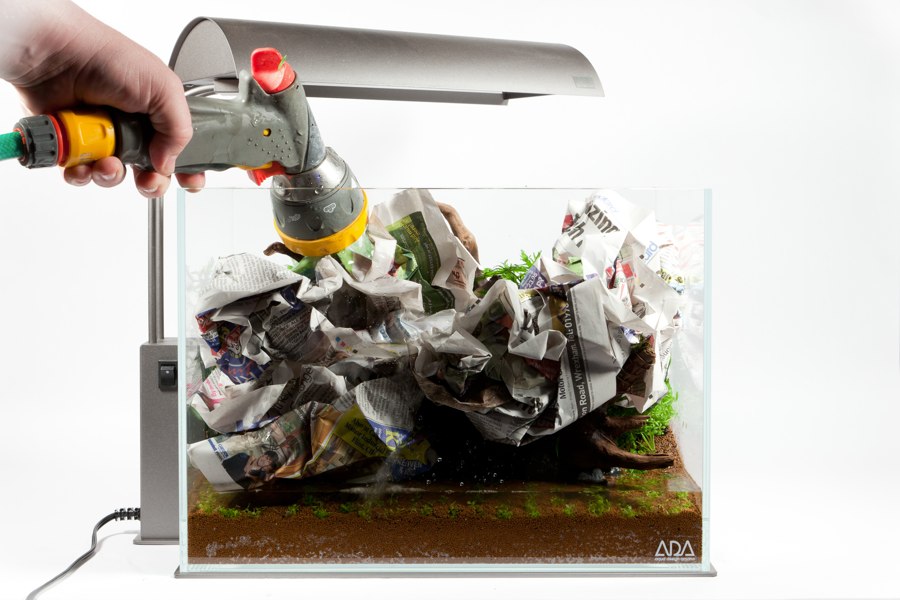
Newspaper is temporarily added to the scape to help stop clouding when filling with water.
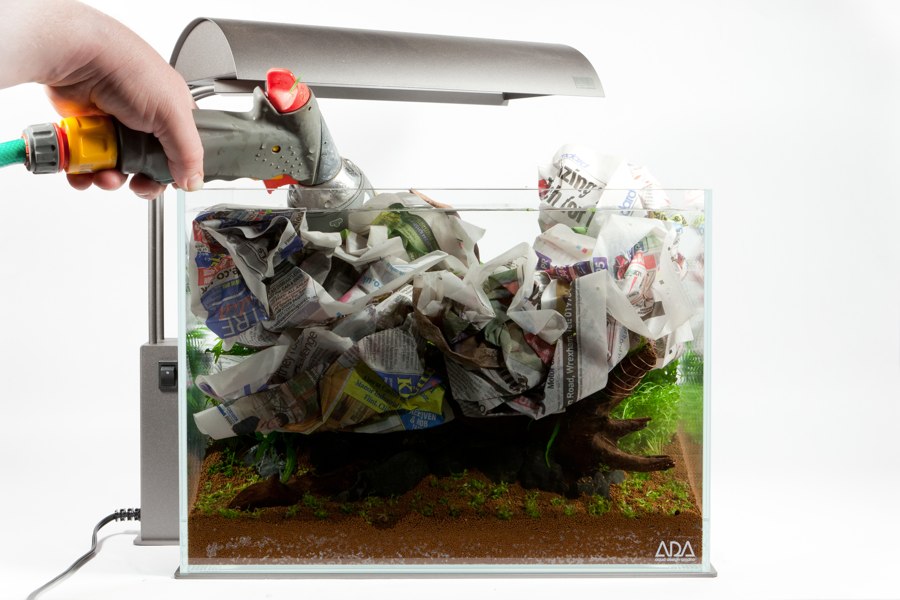
The water is added and the newspaper is removed. Note that this is straight after filling and there was no cloudiness from the ADA Aqua Soil Powder Africana. Glassware is also added at this time and then the filter is connected.
The tank is moved to its new position. The filter is connected to the ADA Do!aqua Lily Pipes and the CO2 system is added.
Detail shot of the Do!aqua Music Glass – Mini 10D.
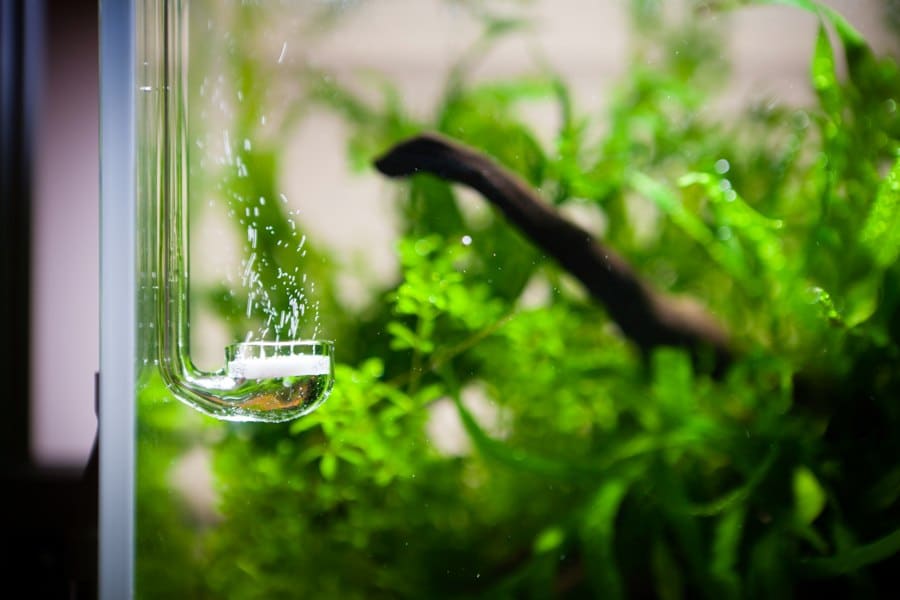
CO2: Pressurised via Do!aqua Music Glass – Mini 10D, Do!aqua Music Counter and ADA Grey Parts Set.
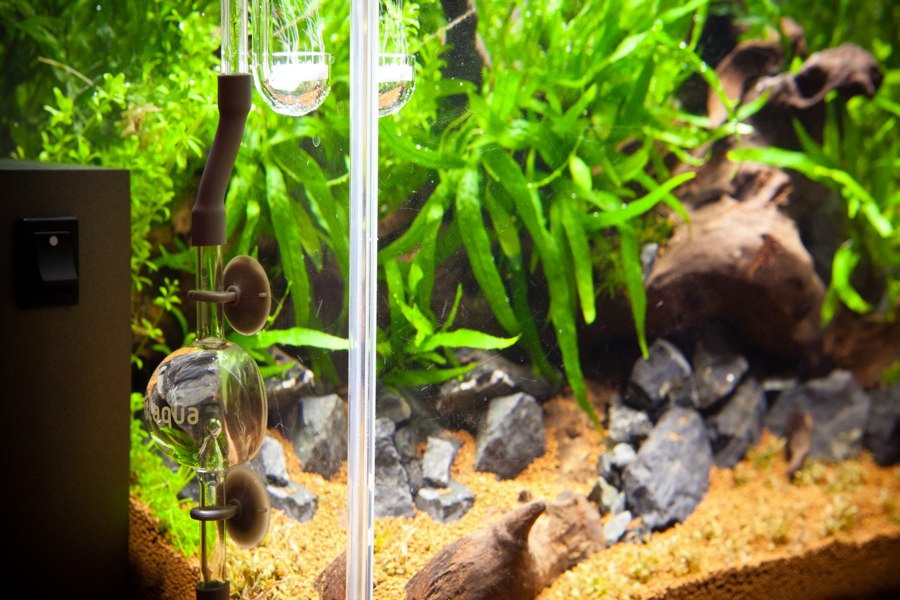
Detail shots of the Do!aqua Music Glass – Mini 10D and Do!aqua Music Counter show their excellent design and minimal impact.

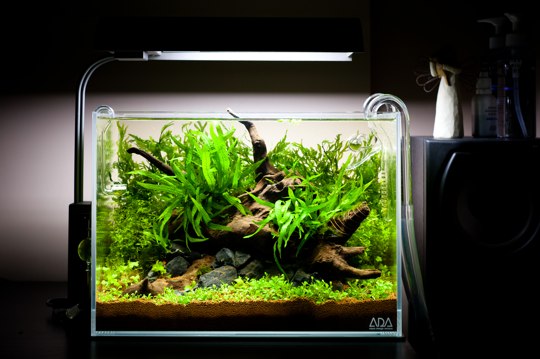
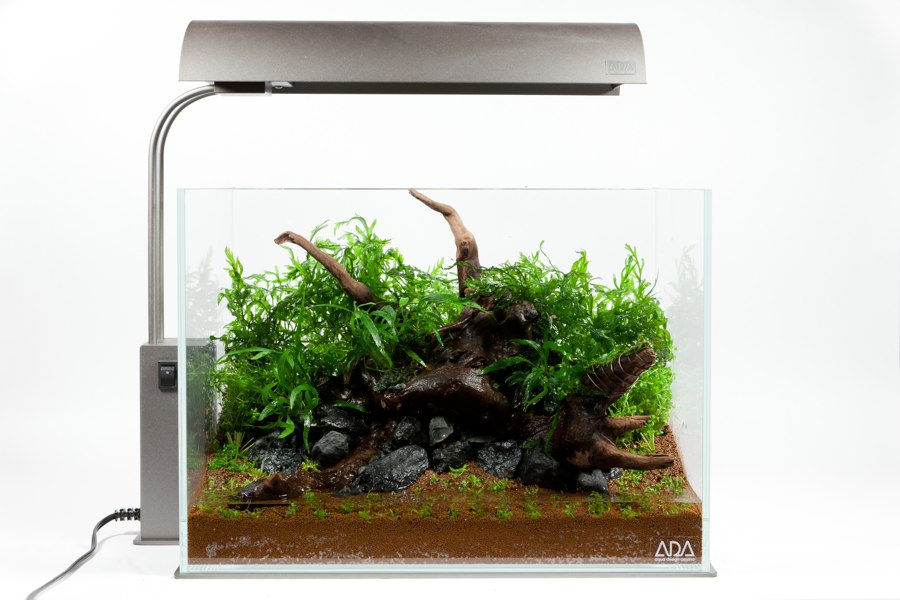
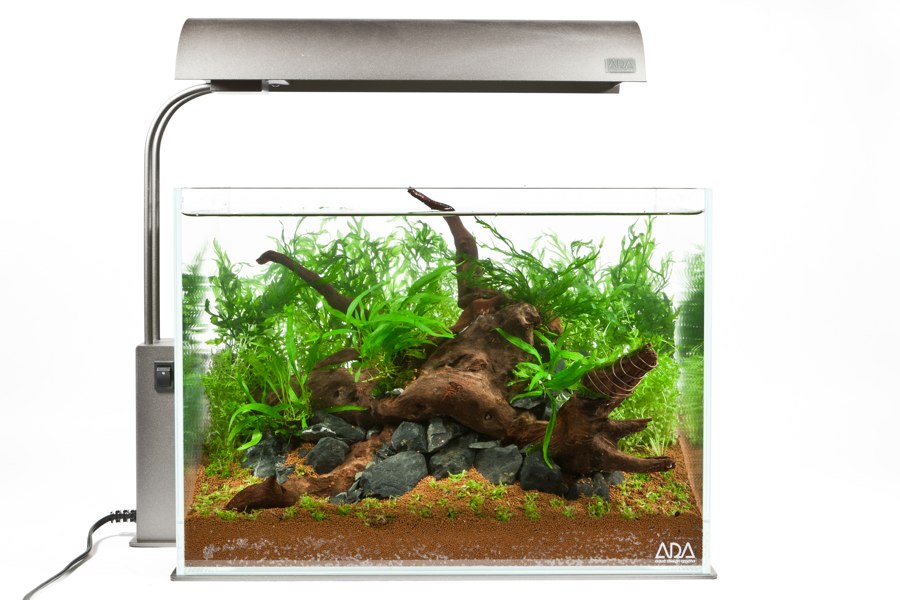
Tank in situ with more ferns added and a Glossostigma elatinoides carpet planted. Also Hydrocotyle sp. “Japan” has been added on the left of the tank.
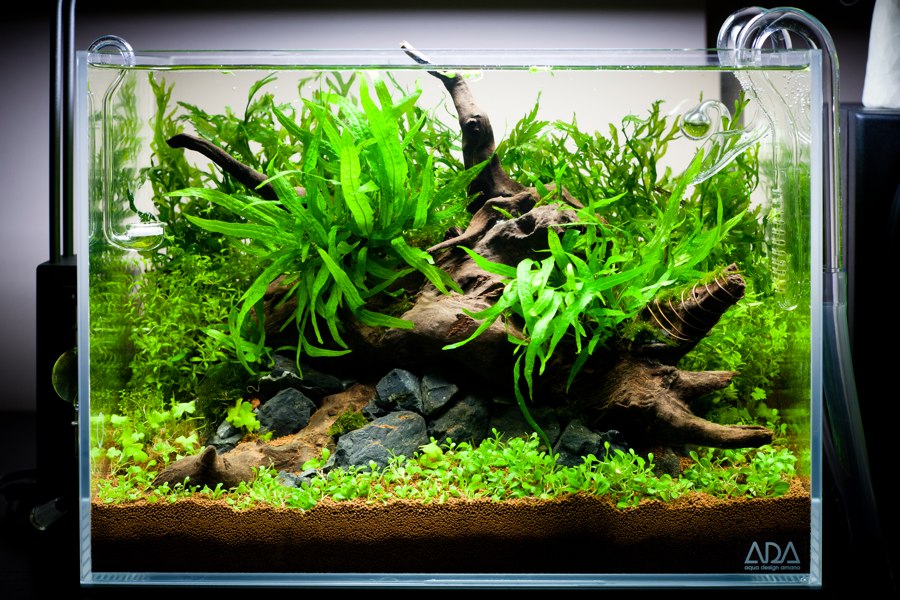
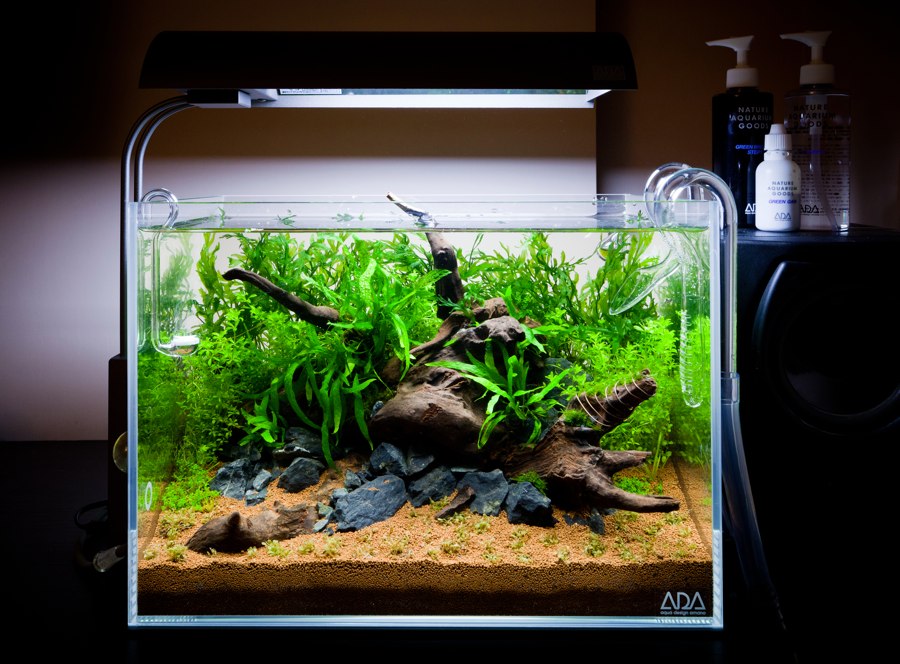
The final shot of the aquascape shows how stunning the ADA and Do!aqua Nature Aquarium systems are. ADA is famous aquascaper Takashi Amano’s company – it was born out of his passion for the Nature Aquarium, so all of their goods are specifically researched, developed and tested to the standards of Mr. Amano himself. As you can see, the quality of ADA speaks for itself! Once again, many congratulations and thanks to talented aquascaper Stuart Worral who planted and photographed this Nature Aquarium.
Like this Aquascape Journal? More Aquascape Journals and Articles by The Green Machine you might like are;
- Aquascape and Nature Aquarium Journals;
- Triptych: An Aquascape and HD Video by James Findley
- Hidden Valley: an Aquascape by James Findley
- Articles;
- Why Choose ADA Aqua Soil Powder Type?
- Working with Carpeting Plants and Grasses
- Wabi-Kusa